Airbrushing chocolate is a super fun way to add color, style, and a touch of magic to your chocolate creations. Whether you’re a pro chocolatier or you just love making treats at home, learning how to airbrush chocolate can visually take your chocolate to the next level. In this guide, we’ll cover everything you need to know to airbrush chocolate—from choosing the right airbrush to simple tips for success. So, if you’re ready to give your chocolate that extra wow factor, here’s your complete guide to airbrushing chocolate and what you need to get started!
What is airbrushed chocolate?
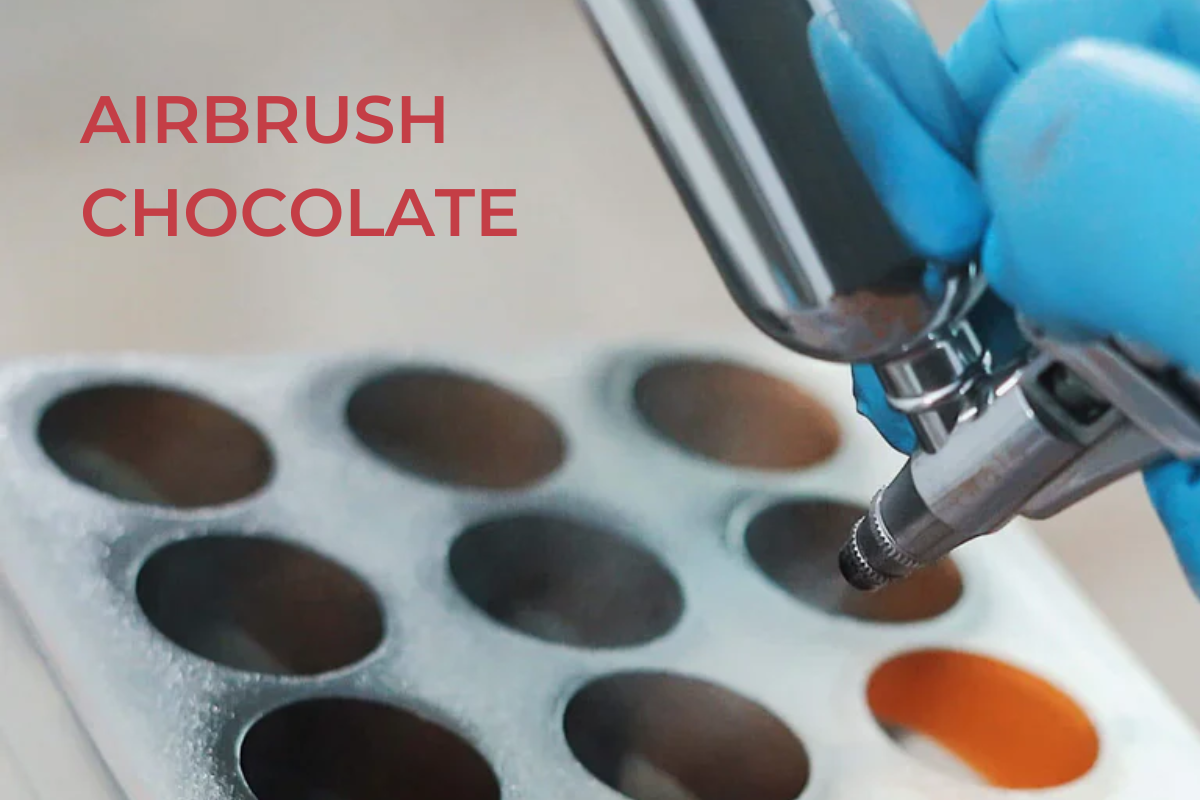
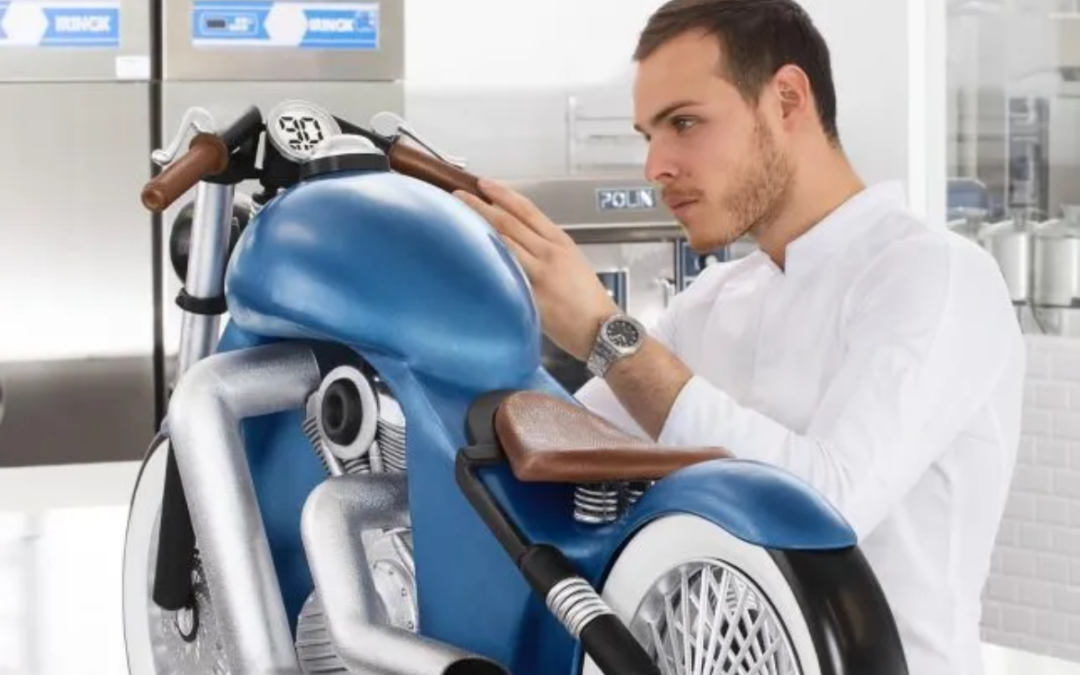
Airbrushed chocolate is chocolate decorated with an airbrush—a small tool that sprays a fine mist of edible, colored cocoa butter directly onto chocolate or onto a mold surface. This allows you to add gradients, patterns, and bright designs, giving your chocolate a polished, professional look. Airbrushing is popular for adding flair to chocolates, bonbons, and even large chocolate sculptures.
With airbrushing, chocolatiers and home makers can get creative, adding effects like smooth color transitions, splashy splatters, and precise stenciled designs to make each piece unique and eye-catching.
Benefits of airbrushing chocolate
Airbrushing chocolate provides a range of benefits that can elevate any chocolate creation. It enhances appearance by adding vibrant colors, gradients, and unique patterns, giving chocolates a polished, professional look. And the best part is that it does all this without changing the flavor of the chocolate. Offering creative flexibility, airbrushing allows you to highlight your chocolate with thematic colors , and layered colors, making it easy to personalize each piece. Additionally, airbrushing is time-efficient, covering large areas quickly and evenly, and providing consistent color distribution across multiple pieces—ideal for producing uniform chocolate batches. The airbrushed cocoa butter also acts as a protective layer, guarding chocolate against moisture and minor blemishes, helping it stay fresh longer. Overall, airbrushing adds artistry and professionalism to chocolate-making.
Choosing the right cocoa butter
Choosing the right cocoa butter for airbrushing chocolate is key to achieving smooth, vibrant, and lasting designs. Cocoa butter is the base for airbrush colors, so quality and consistency are important. Look for cocoa butter specifically made for chocolate work—this is typically pre-tempered and blends well with edible color powders or comes already mixed with food-safe dyes for even color application.
Make sure to choose colored cocoa butter that holds up well in different temperatures and humidity, as these can affect how colors stick to chocolate. Many brands offer a variety of shades, from metallics to pastels, giving you options for creating unique effects. Before use, warm the cocoa butter to the ideal temperature (always follow the instructions provided on the packaging) to avoid splattering and ensure a smooth spray. Quality cocoa butter colors will help you achieve vibrant, lasting finishes that make your chocolates stand out.
Essential tools and materials
To get started with airbrushing chocolate, you’ll need a few essential tools and materials:
Airbrush: A quality airbrush gun with adjustable settings allows you to control the spray intensity to create fine details or broader coverage. Choose one that is easy to clean and works well with cocoa butter.
Compressor: A compressor is necessary for powering the airbrush. Look for a quiet, reliable compressor with adjustable pressure settings, typically around 15-20 PSI for chocolate work.
Colored Cocoa Butter: Use pre-tempered, food-safe cocoa butter colors designed for chocolate. These colors come in various shades and finishes, like matte and metallic, allowing for creative effects.
Heat Source: A heat gun or hair dryer is a useful tool to keep cocoa butter at the ideal temperature (around 86-90°F) while you work, preventing airbrush clogs and ensuring a smooth spray.
Protective Gear: For safety, use a mask and gloves to protect yourself from fine cocoa butter particles. Cover your working area with parchment paper to maintain a clean workspace.
Stencils and Paint Brushes: Stencils allow you to add patterns and shapes, while fine brushes can help touch up details or add extra effects.
Step-by-step guide to airbrushing chocolate
Here’s a simple step-by-step guide to airbrushing chocolate, from preparation to finishing touches:
- Prepare your workspace
- Set up a clean, dry workspace, preferably in a well-ventilated area to avoid inhaling any cocoa butter particles.
- Protect your surfaces with parchment paper, newspaper, paper towels, or disposable tablecloths to catch any overspray.
- Choose your chocolate and prepare the surface
- Airbrush over tempered chocolate or chocolate that has been allowed to cool to room temperature.
- If working with freshly molded chocolate, smooth out the chocolate surface by tapping or spreading it evenly before airbrushing over it.
- If you are working with molds, prepare the mold surface to achieve the highest quality finish.
- Melt and prepare cocoa butter
- Melt the cocoa butter colors gently using a heat gun, double boiler, or microwave. Aim for a temperature of around 86-90°F (30-32°C) to prevent taking the cocoa butter out of temper.
- If using powdered food coloring, mix it with melted cocoa butter until it’s smooth and well-blended.
- Set up your airbrush gun
- Attach the airbrush gun to the compressor and adjust the pressure to between 15-20 PSI. Lower pressure is best for detailed work, while higher pressure is better for larger areas.
- Test the airbrush on a piece of scrap paper or parchment first to ensure the spray is even and fine.
- Start airbrushing
- Hold the airbrush gun a few inches away from the mold or chocolate surface. Moving the nozzle in smooth, sweeping motions start to spray the cocoa butter. For best results, work in light layers, building up color gradually.
- Use stencils or freehand techniques for different effects, like patterns, gradients, or splatter effects.
- As you work, if the airbrush starts to clog, gently heat the well holding the cocoa butter with a hair dryer or heat gun.
- Spray Layers and color transitions
- Allow cocoa butter to set between layers to avoid smudging.
- If you want to create gradients or multiple colors, let each layer dry before adding the next color layer. This prevents colors from blending too much and gives more control over the design.
- Make sure to spray out all the prior color before moving to the next color.
- Clean the airbrush
- After use, clean the airbrush gun thoroughly with warm water and a cleaning solution (or according to the manufacturer’s instructions) to avoid clogging.
- Make sure to dry it completely before storing it away.
- Allow the cocoa butter to set
- Once you’re happy with the final design, allow the cocoa butter to cool and set completely. Depending on the room temperature, this may take 20-30 minutes.
- Find a cool, dry place, ensuring that your chocolate is not exposed to moisture or direct sunlight as it cools since this can cause the surface to lose its temper.
- Finishing touches
- Once your airbrushing is done, you can add other decorative elements or touches to your chocolate, such as edible glitter or small embellishments for extra flair.
- If you are decorating a mold, it’s time to make your chocolate shell and then fill it with ganache or other chocolate center.
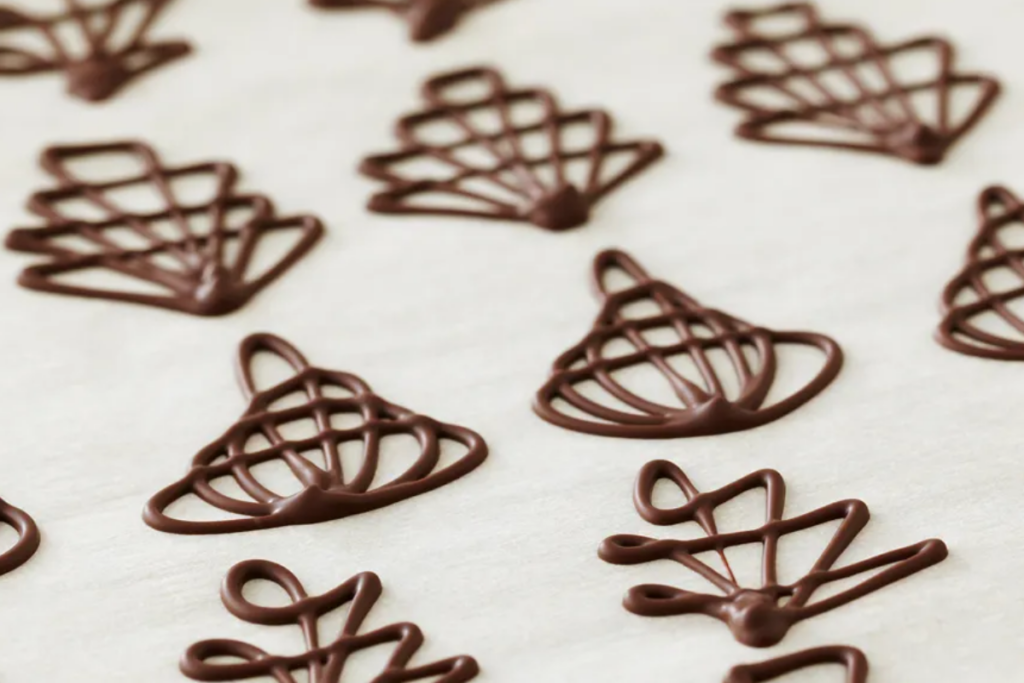
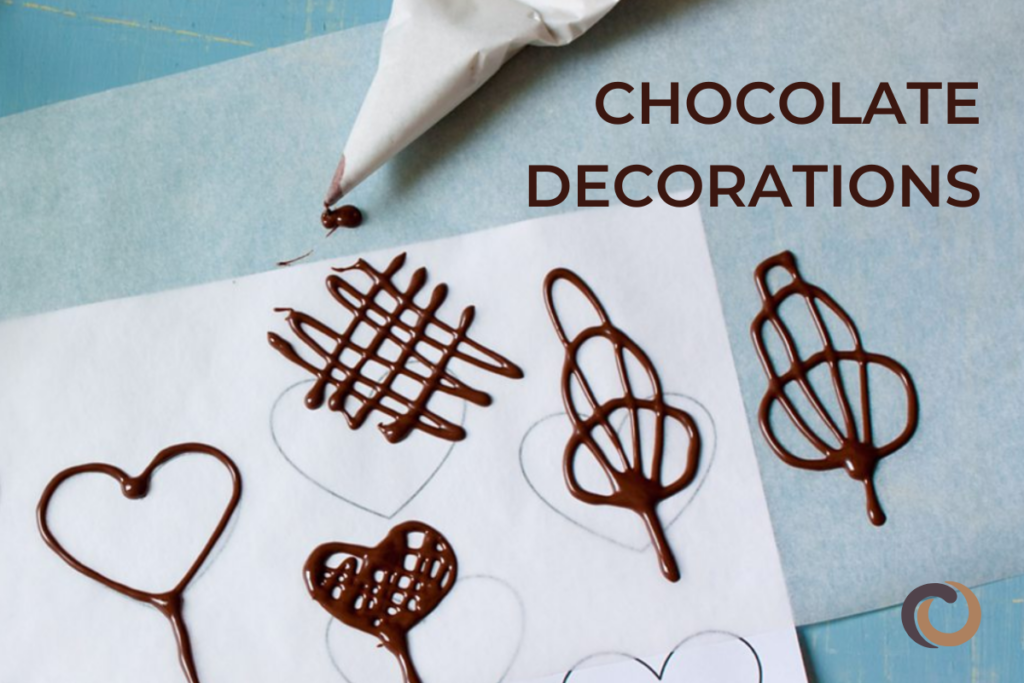
- You can also add 3D chocolate elements to make your chocolate creations pop.
- Enjoy your work
- Once the chocolate is fully set, your airbrushed masterpiece is ready to enjoy or package!
Where to buy a chocolate airbrush?
If you’re looking to buy airbrush tools and supplies for chocolate, here are some good places to check out:
1. Online Marketplaces
- Examples:
- Pros: Some sites have a wide selection of airbrush kits, compressors, cocoa butter colors, and accessories. You may also be able to find pre-owned equipment for less. Often, customer reviews are available to help you make decisions based on features and ease of use.
- Products: Airbrush guns, compressors, cocoa butter, stencils, and other chocolate decorating tools.
2. Cake Decorating Stores
- Examples:
- Chef Rubber
- Wilton (also available on Amazon)
- Sugarcraft
- Global Sugar Art
- Pros: Specialize in baking and cake decoration supplies, including airbrushing tools specifically for chocolate.
- Products: Couverture chocolate, chocolate molds, cocoa butter colors, transfer sheets and chocolate tools.
3. Specialty Art Supply Stores
- Examples:
- Pros: Offers professional-grade airbrush kits and compressors that can also be used for chocolate airbrushing. Often has more high-end options.
- Products: Food-safe brushes, silicone molds, airbrush systems and stencils and cutters.
4. Chocolatier Supply Stores
- Examples:
- Pros: Focused on chocolate-specific products, including tools for airbrushing and edible coloring.
- Products: Couverture chocolate, molds and tools, candy-Making ingredients, decorations and additives and packaging.
5. Culinary Supply Stores
- Examples:
- Pros: Some of these stores carry airbrushing kits and chocolate decorating tools for professional kitchens.
- Products: Chocolate products, baking ingredients, baking tools and equipment, chocolate molds and decorative add-ons.
Things to look for when buying:
- Quality of Cocoa Butter Colors: Ensure that the cocoa butter colors you choose are food-safe and designed for airbrushing chocolate.
- Adjustable Airbrush Gun: Look for an airbrush kit with adjustable spray settings for better control over the design.
- Easy-to-Clean Equipment: Choose an airbrush gun that is easy to clean, as cocoa butter can clog if not cleaned properly after use.
For more great articles and recipes, check out the rest of our CocoTerra blog.
If you have any questions or comments, feel free to contact us through our social media channels. We are @cocoterra_co on Instagram and Pinterest and @cocoterraco on X (aka Twitter) and Facebook.

