Making something from scratch might seem hard at first. It takes time, effort, and probably some research and experimentation. But with passion, and a little patience, even complex processes can become second-nature. And when it comes to making something as delicious as chocolate, it can feel very satisfying too.
Steps for making chocolate from scratch
To make chocolate from scratch, you will need to understand and prepare for each of the following steps:
1. Sourcing ingredients
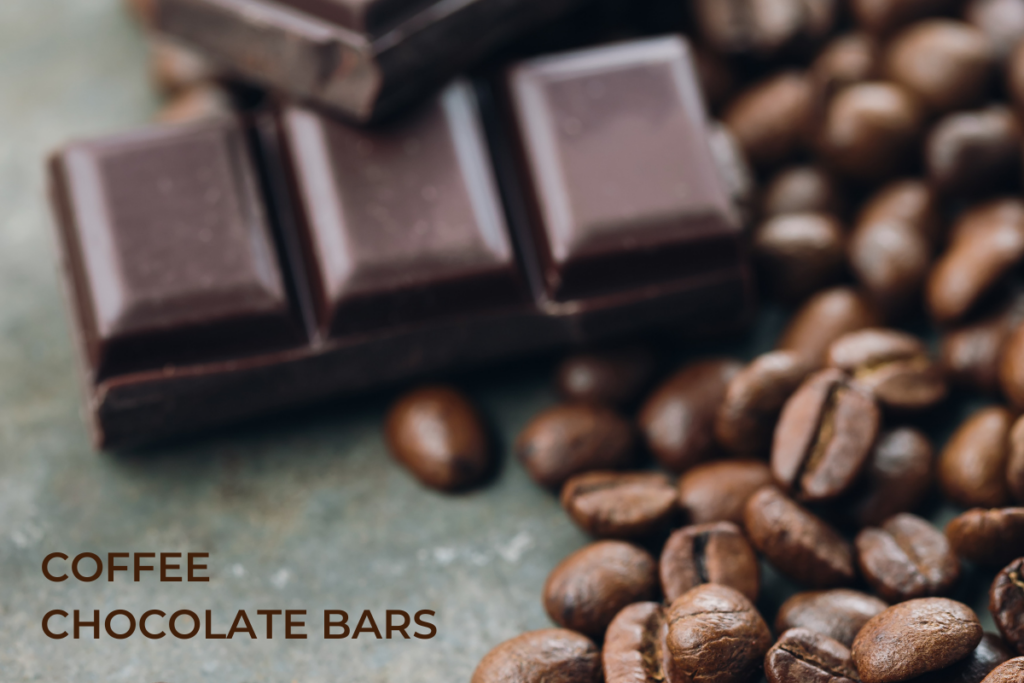
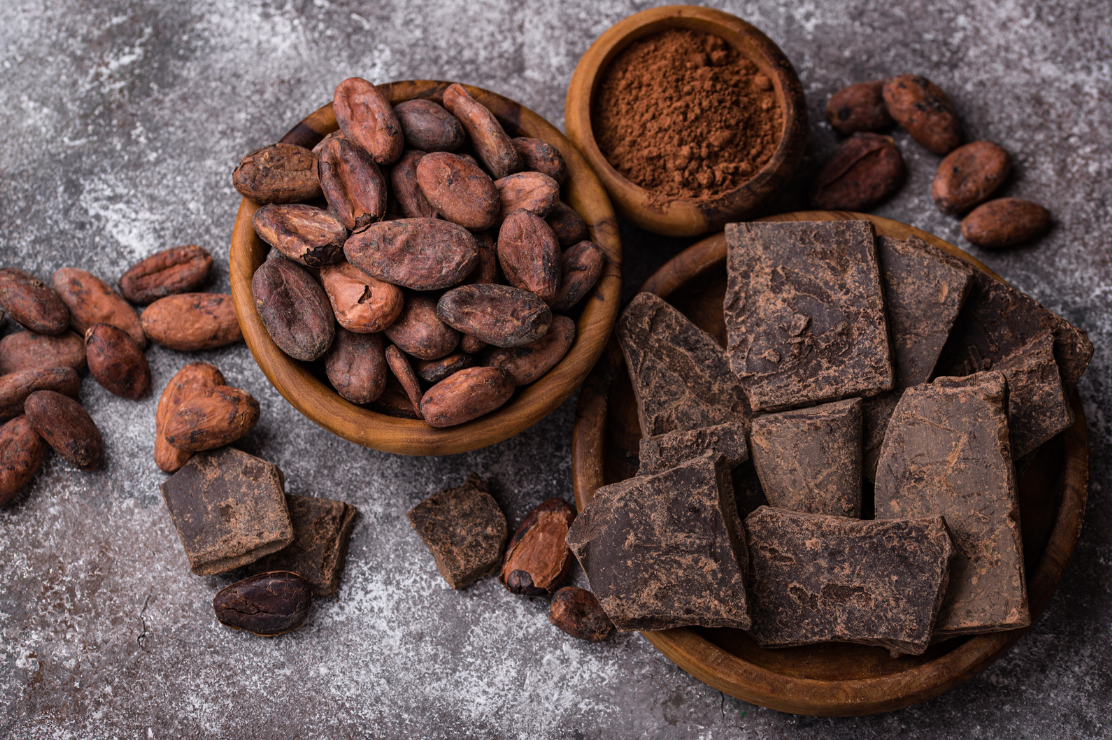
The first step is to source the necessary ingredients. This typically includes cocoa beans, which are the primary ingredient in chocolate. Cocoa beans are the seeds found within the pods or fruit of the cacao tree. The origin of your cocoa beans will have a huge impact on the final flavor of your chocolate. Make sure to read the tasting notes to understand the flavor profile of the beans. Additionally, depending on the selected recipe, you will need other ingredients such as cocoa butter, sugar, milk powder (for milk chocolate), and desired flavorings and inclusions.
2. Buying equipment
You need the necessary equipment to transform your starting ingredients into chocolate. This typically includes tools like a roaster to roast the cocoa beans, a melanger for grinding and refining the beans into a smooth paste, a tempering machine for achieving the right texture and snap, molds for shaping the chocolate, and other equipment such as bowls, spatulas, a scale and a thermometer.
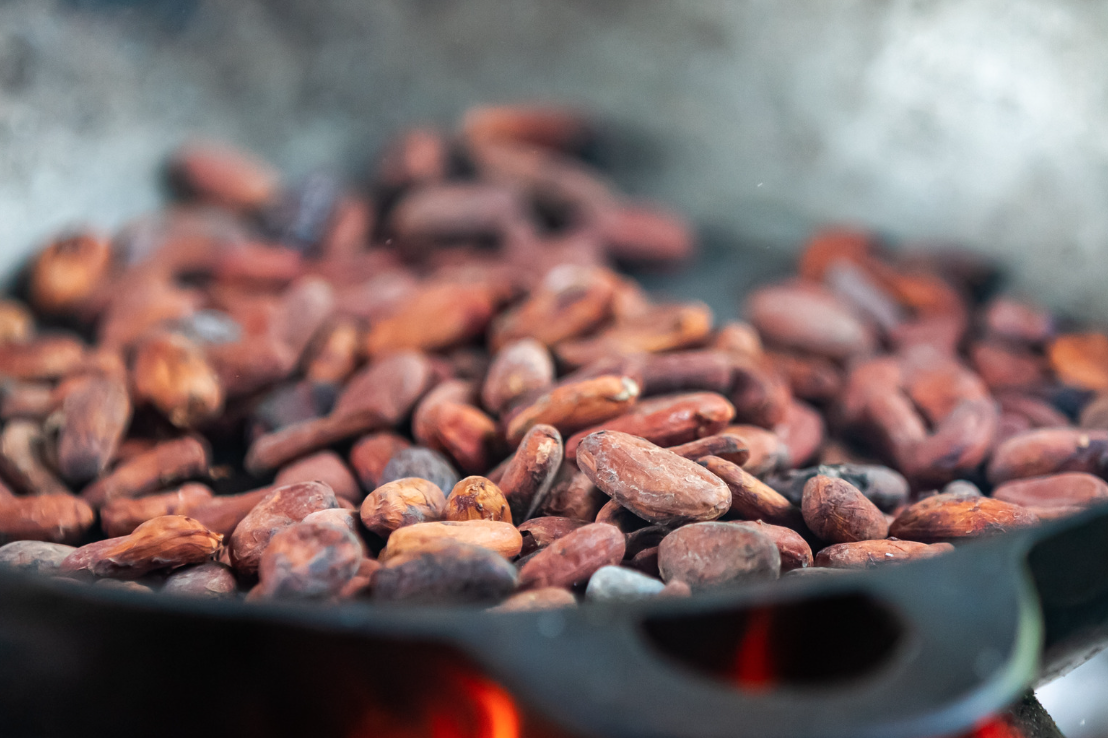
3. Roasting beans
Cocoa beans can be roasted in a conventional oven, toaster oven or coffee roaster. Which you choose depends on the level of control you want in developing the perfect roast on your beans. The basic method involves spreading the cleaned beans evenly on a baking sheet lined with parchment paper or a silicone baking mat. Make sure to avoid overcrowding the beans to ensure an even roast. Roast the beans for about 20 to 30 minutes. You should hear the beans popping which is an indication that they are nearly done roasting. Roasting is an art, so take time to understand the process and how it affects flavor.
4. Cracking beans
Once the roast is complete and the beans have cooled, they are cracked open to release the shell and expose the nibs inside. This can be done manually by placing the beans in a bag and using a rolling pin to crack them apart or there are specialized machines such as a cocoa mill or cracker (AKA Crankandstein). Some recommend using a Champion juicer for this step which will crack the beans, remove the shell and pre-grinds all at once.
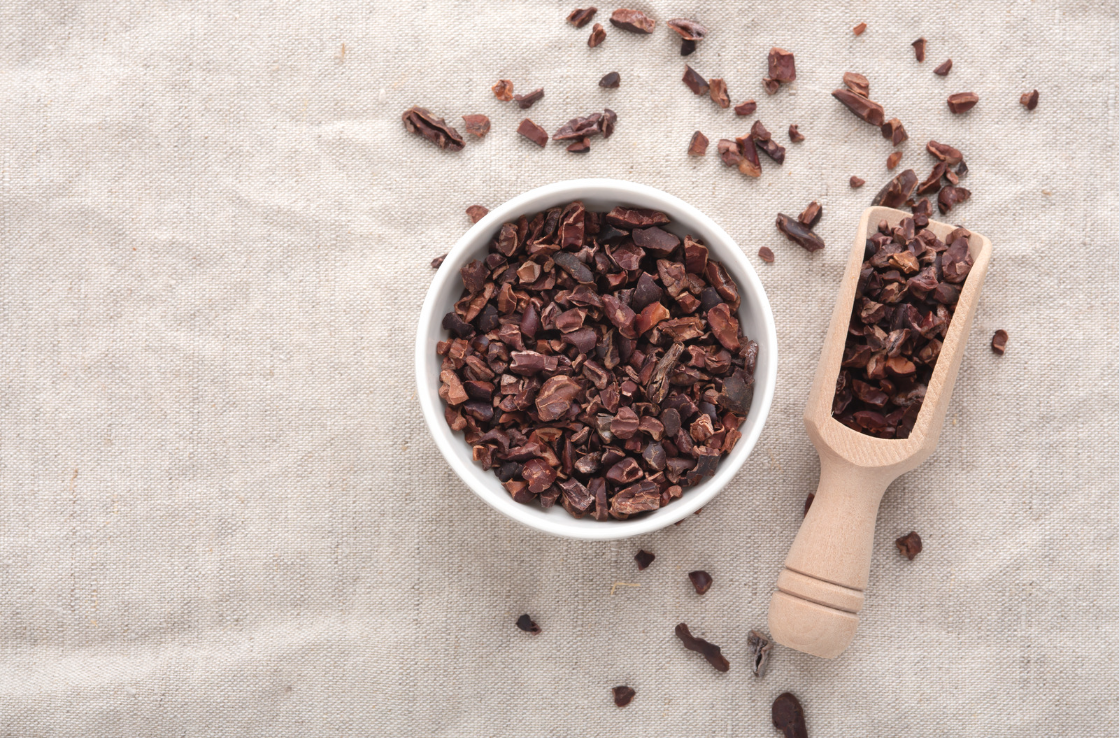
5. Winnowing nibs
After cracking, the cocoa beans are placed in a winnower, which is a machine designed to separate the lighter husks from the heavier cocoa nibs. Winnowera uses airflow and/or vibration to separate the husks from the heavier nibs. At home, a bowl and hair dryer will do the job, just make sure to take it outside, since it makes a terrible mess.
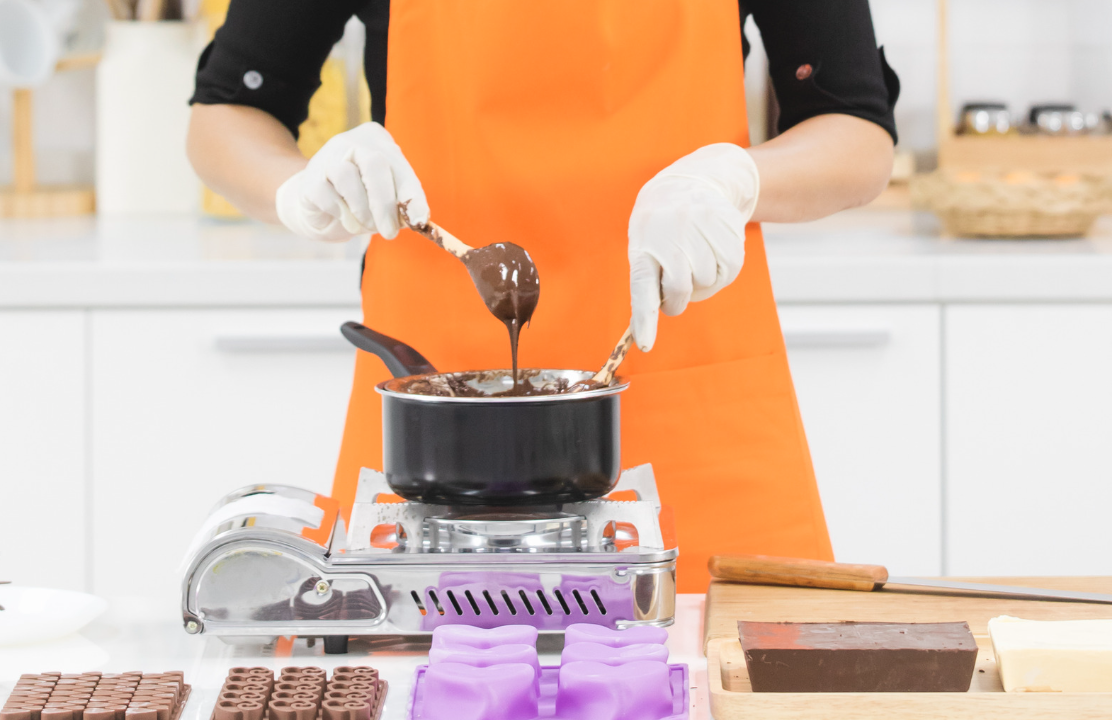
Melted chocolate -not solid
6. Selecting a recipe
Select a recipe based on the type of chocolate you want to make, such as dark, milk or white. This will determine which ingredients you will need and in what quantities. Select your desired cacao % which will determine the intensity of your final product. It’s important to ensure that you have all the necessary ingredients on hand before starting to make chocolate from scratch.
7. Making the chocolate
With all your ingredients and tools at hand, you’re all set to start crafting your chocolate. The chocolate making process involves grinding, refining, and conching the chocolate until it has the flavor and texture that you desire. These steps can take anywhere from 2 hours to 2 days depending on the equipment being used.
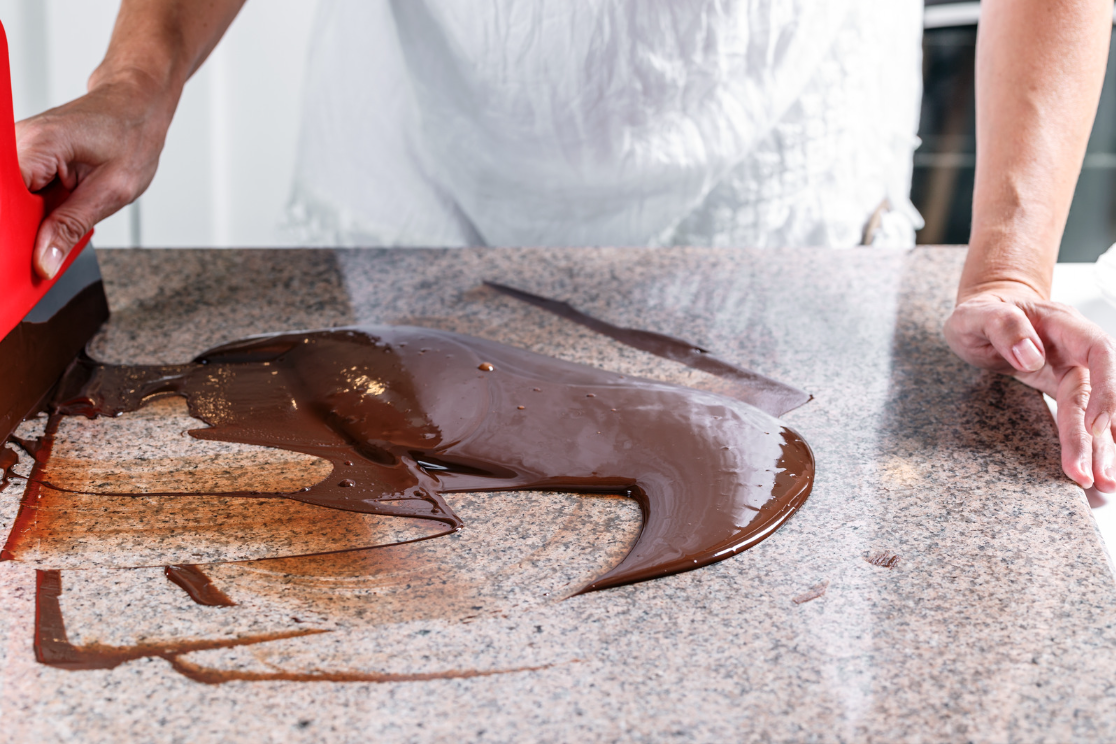
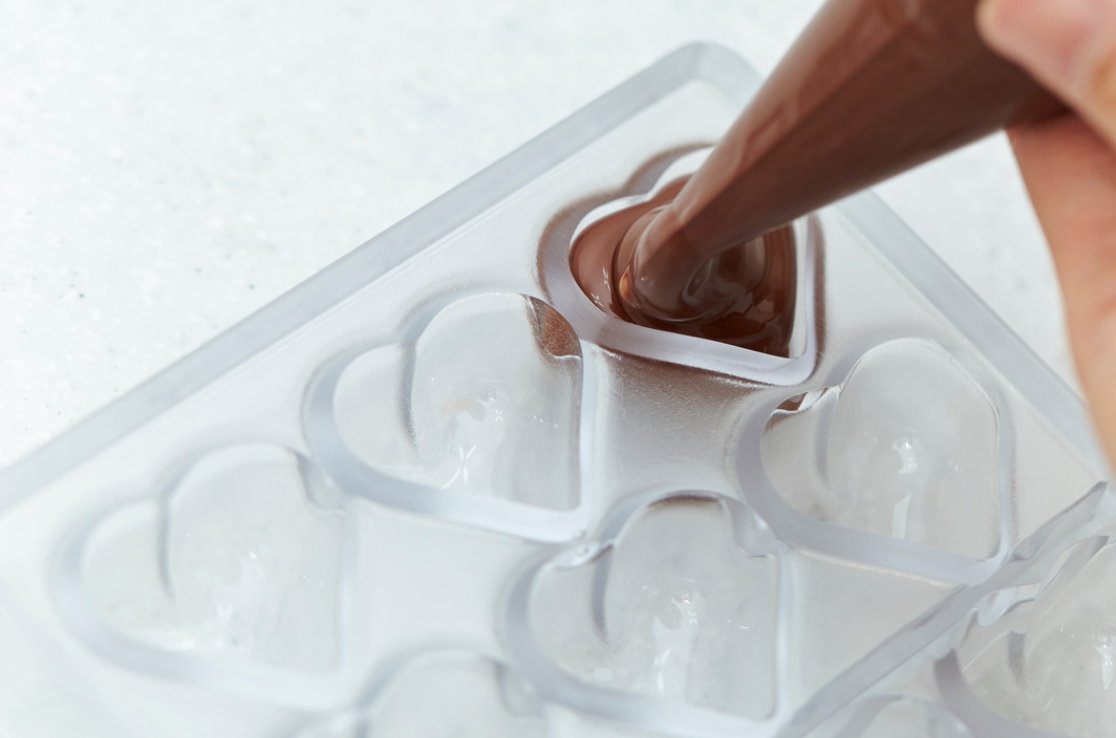
8. Tempering and molding
To give your chocolate the right texture and snap, it must be tempered before you mold it. There are machines that can help with this process, or you can learn how to hand temper your chocolate. Tempering is definitely an acquired skill and may take several attempts to get right. Not to worry, since it’s pretty simple to start over and give it another shot. Once your chocolate is properly tempered, pour it into your molds and allow it to cool until it solidifies.
Benefits of making chocolate from scratch
When making chocolate from scratch, you’re in charge of the whole process. You pick out the best ingredients and add flavors that make your taste buds dance. Every step shows off your culinary creativity. And what do you get? A chocolate that beats anything you can buy in a store. It will be full of delicious flavors and have a smooth texture, and designed to meet your dietary needs (vegan, Keto, Kosher, sugar-free, allergen-free, etc.). Homemade chocolate is a treat that makes you feel good inside and out. Read more about all the differences between homemade and store bought chocolate.
Chocolate 101
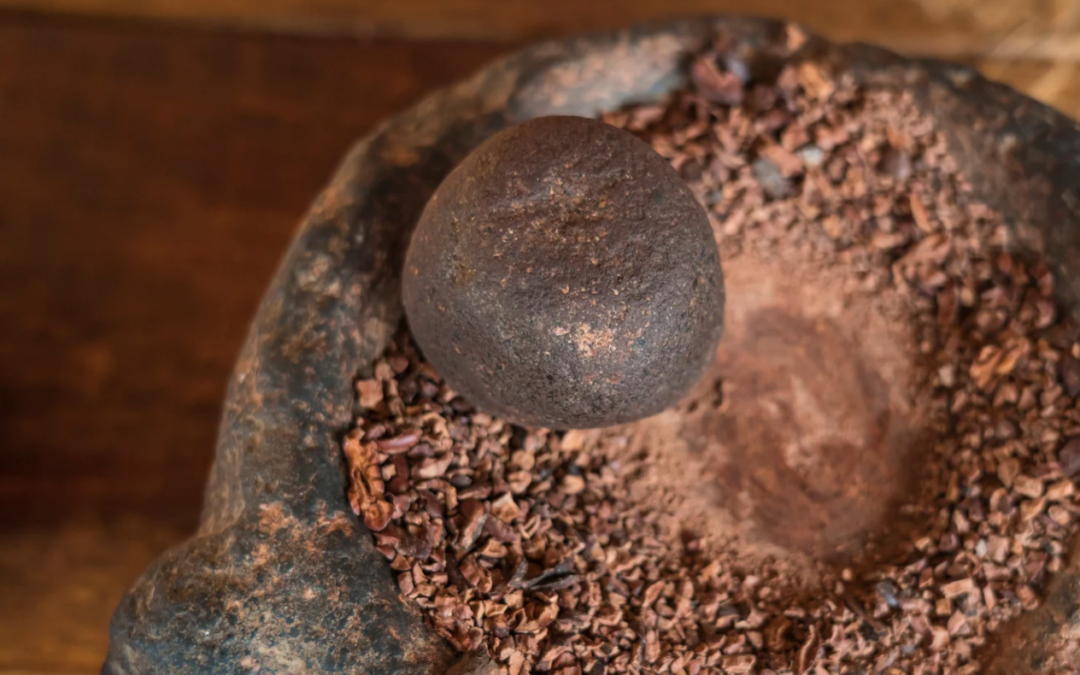
To help you on your chocolate-making journey, let’s begin by understanding some of the science of chocolate. The “chocolate” part of chocolate consists of two main ingredients: cocoa nibs and cocoa butter. As mentioned, the cocoa beans are roasted, cracked open, deshelled and then end up as small pieces called cocoa nibs.
If these nibs are ground up, heated and put in a press, cocoa butter can be extracted. So, cocoa butter is the fat from the cocoa beans (similar to how olives produce olive oil or peanuts produce peanut oil). Extra cocoa butter is often added to chocolate to make it smoother and creamier.
In addition to these two cocoa products, chocolate usually contains sugar and sometimes powdered milk, if producing a milk chocolate.
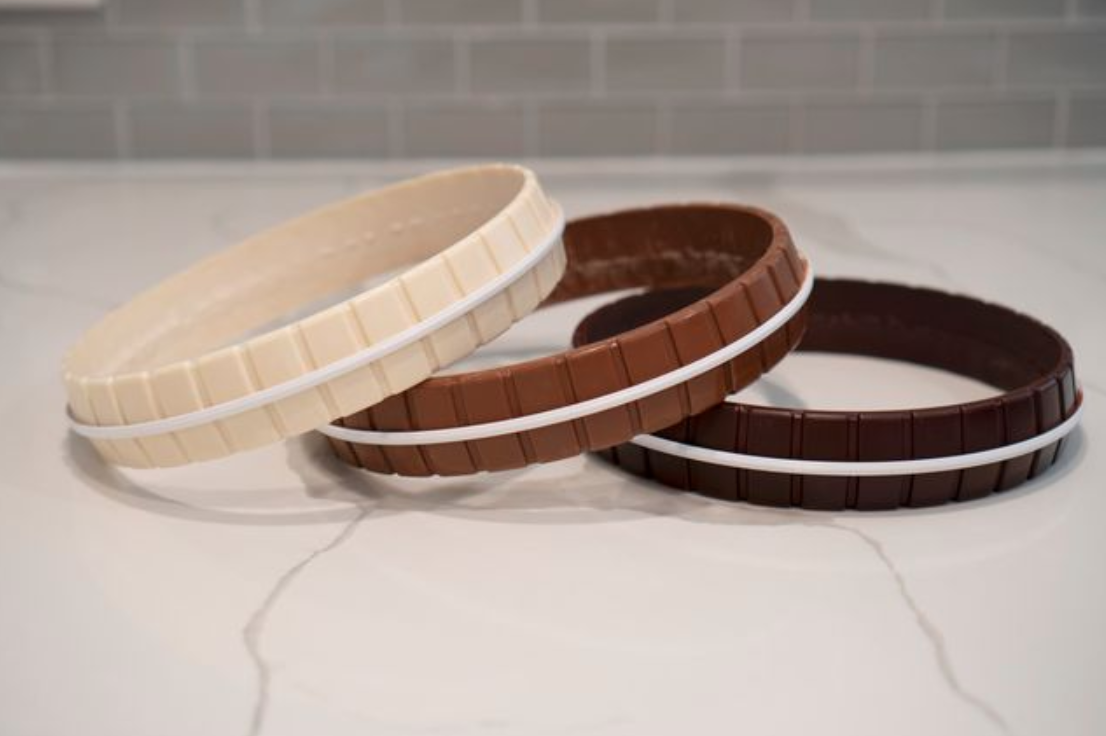
Chocolate can be categorized into three primary types based on the inclusion or exclusion the four main chocolate-making ingredients (cocoa nibs, cocoa butter, sugar, and milk powder):
- Dark chocolate: Made from cocoa nibs, cocoa butter, and sugar, dark chocolate can be prepared using some or all of these ingredients. It tends to have a richer, more intense flavor compared to milk chocolate.
- Milk chocolate: This type of chocolate is crafted from cocoa nibs, cocoa butter, milk powder, and sugar, resulting in a creamy and sweet flavor profile.
- White chocolate: White chocolate is made from cocoa butter, sugar, and milk powder, and notably lacks cocoa nibs. This chocolate boasts a smooth, milky taste without the characteristic bitterness of cocoa.
When it comes to making homemade chocolate, there’s a range of common ingredients you can use to tailor your creation to your taste preferences. These ingredients may include vegan milk powder, salt, vanilla, alternative sweeteners, flavored oils, nuts, spices, and dried fruits. Experimenting with these components allows for endless possibilities in crafting your perfect batch of homemade chocolate.
Chocolate making at home
Making chocolate is a great chance to get creative. Don’t let anything hold you back from making up your very own chocolate from scratch. There are countless benefits to making your own chocolate, but we believe one stands above the rest which is that you have complete control of what goes into it. You can choose fairtrade, organic, single-origin cocoa beans, use organic cane sugar and tailor the flavor to suit your preferences, guaranteeing a delicious taste that meets your health needs while beating the flavor of store-bought industrial chocolate every time.
While crafting your perfect chocolate is an art and a skill that takes time to master, we have a solution for your chocolate-making desires: Introducing CocoTerra, the first tabletop chocolate maker. CocoTerra simplifies the chocolate-making process so you can focus on making delicious chocolate.
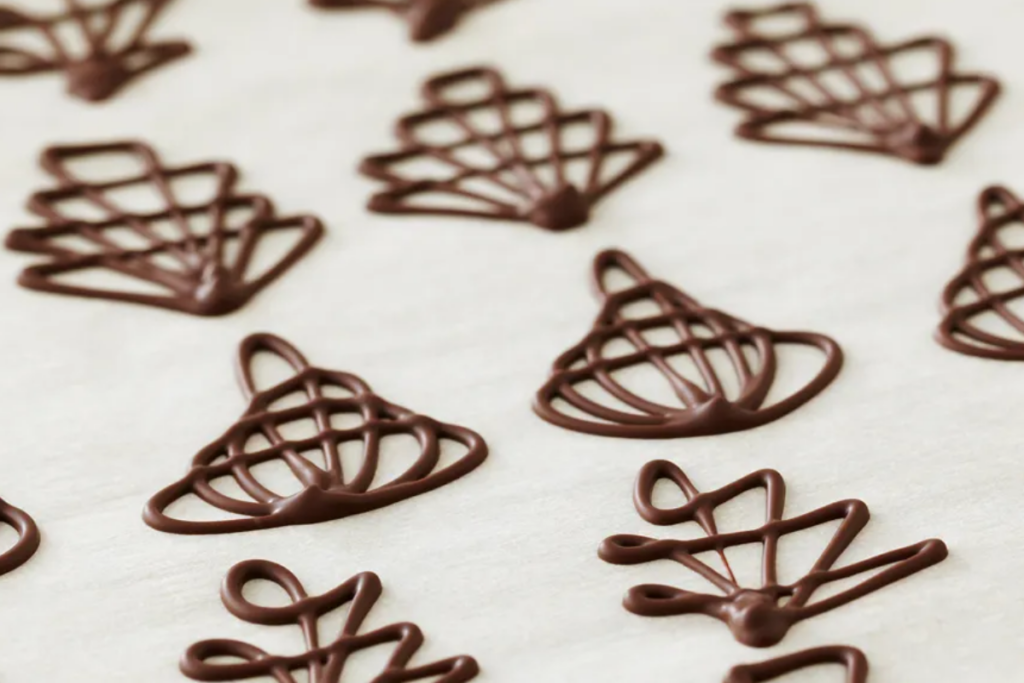
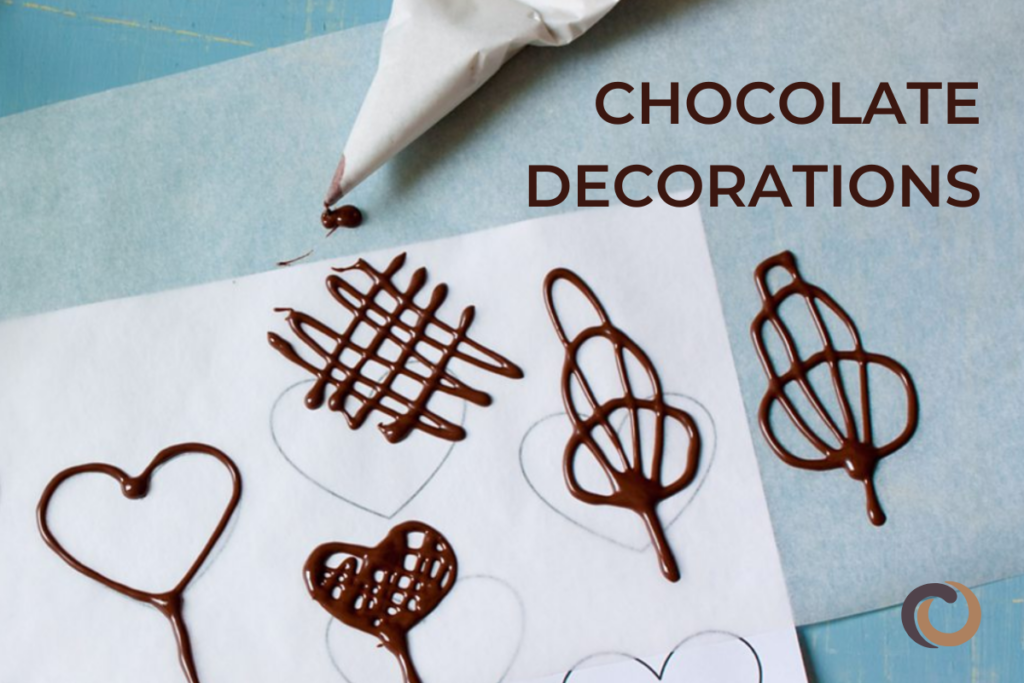
Making chocolate from scratch with CocoTerra simplifies the whole process, whether you’re a seasoned pro or just starting out. With grinding, refining, conching, tempering, and molding all integrated into one compact appliance, CocoTerra offers a complete chocolate-making experience, from cocoa nibs into finished chocolate. Starting with a collection of tested recipes and ingredients and finishing with decorations and gift boxes, CocoTerra guides you through the complete chocolate-making experience. CocoTerra can produce about a half pound of premium chocolate in just two hours, which is a remarkable improvement in time compared to current methods.
And by bringing together multiple steps of the chocolate-making process, CocoTerra makes home chocolate-making easy and accessible for everyone, from kitchen enthusiasts to home professionals. Even someone completely new to chocolate-making can be successful with CocoTerra.
CocoTerra provides a simple interface that appeals to novice users, but experienced users or professionals can dig a little deeper to control and adjust many parameters of the chocolate-making process. Instead of hunting for a chocolate that’s right for you, just make it! Consumers are always searching for specific flavors, the perfect melt-in-your-mouth texture, just the right intensity, or chocolate that is tailored to their dietary needs. CocoTerra offers a level of personalization and customization that’s never before been accessible to the consumer chocolate market.
For more great articles and recipes, check out the rest of our CocoTerra blog.
If you have any questions or comments, feel free to contact us through our social media channels. We are @cocoterra_co on Instagram and Pinterest and @cocoterraco on X (aka Twitter) and Facebook.
")