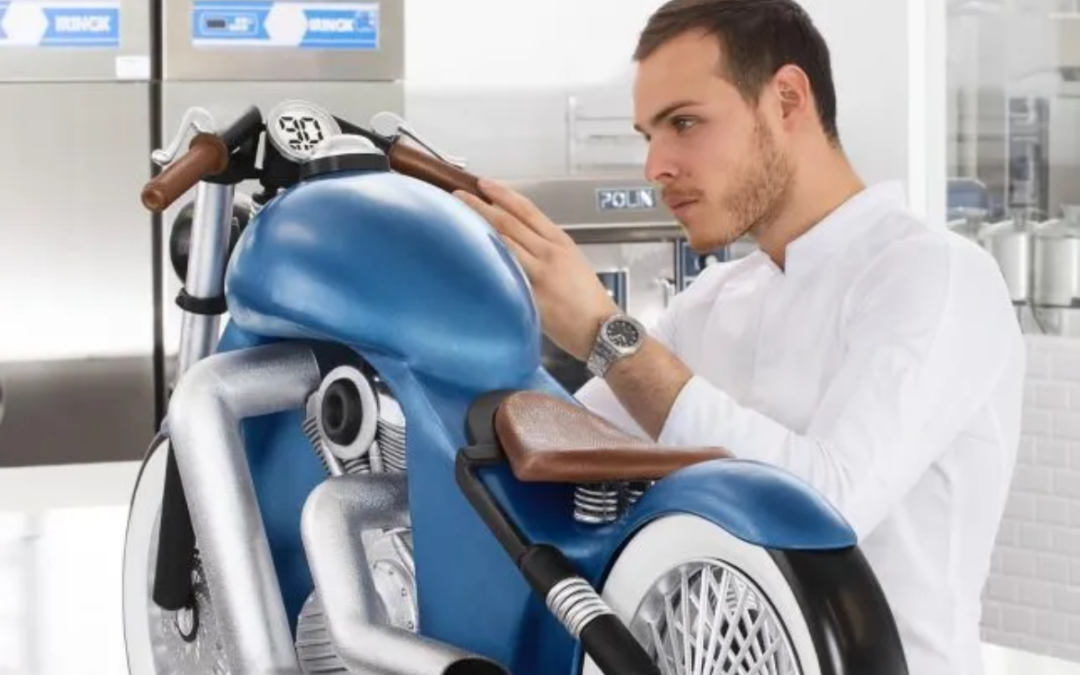
Have you ever wondered how those stunning 3D chocolate objects and decorations are made? With amazing chocolatiers like Amaury Guichon and Lluc Crusellas showcasing incredible chocolate sculptures and masterpieces on social media, it’s hard not to be inspired! That’s why we decided to create a simpler, more accessible guide for you to try at home. Keep reading to discover how you can make your own delightful 3D chocolate creations!
What are 3D chocolate decorations?
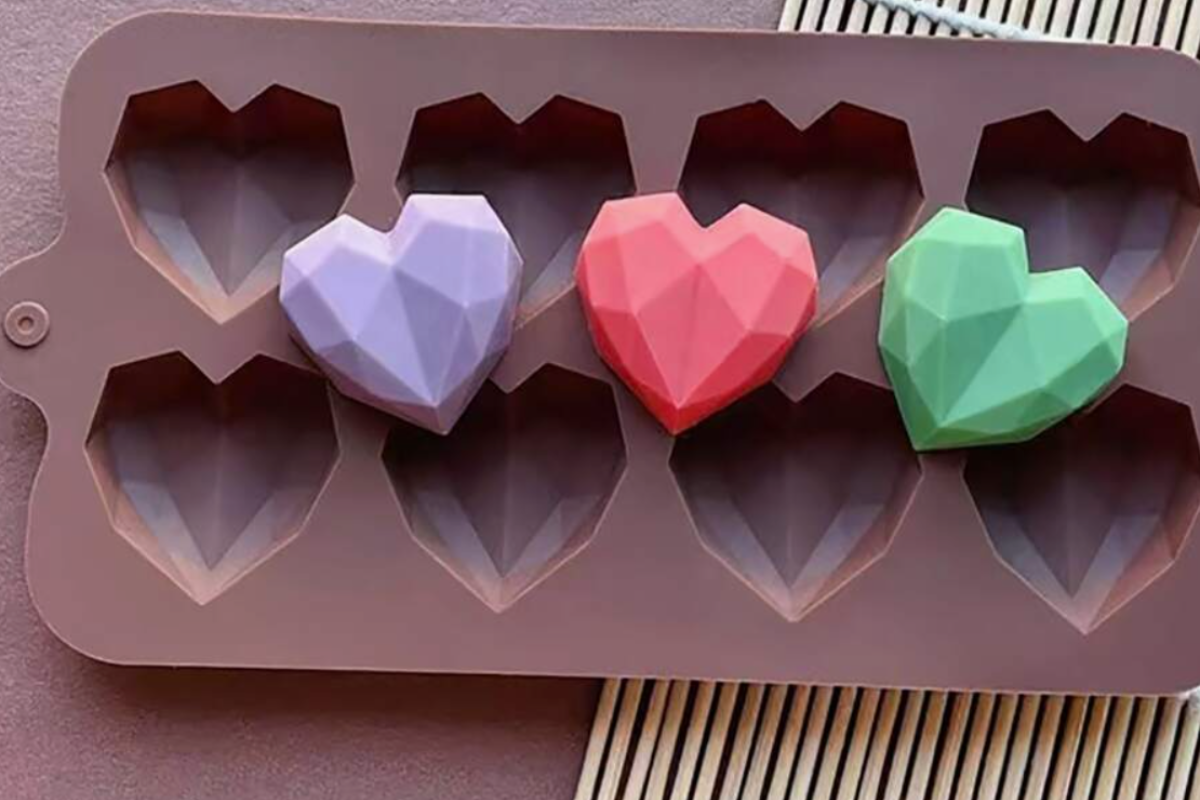
Three dimensional chocolate decorations are intricate, sculptural elements made from chocolate that enhance the visual appeal of desserts and confections. Ranging from simple shapes to complex figures, these decorations are typically crafted using techniques that allow chocolate to be molded, piped, or layered for a three-dimensional effect. Commonly made with silicone molds, they can include designs such as flowers, animals, or themed figures and can feature various textures, colors, and flavors to match any dessert.
Essential materials for creating 3D chocolate decorations
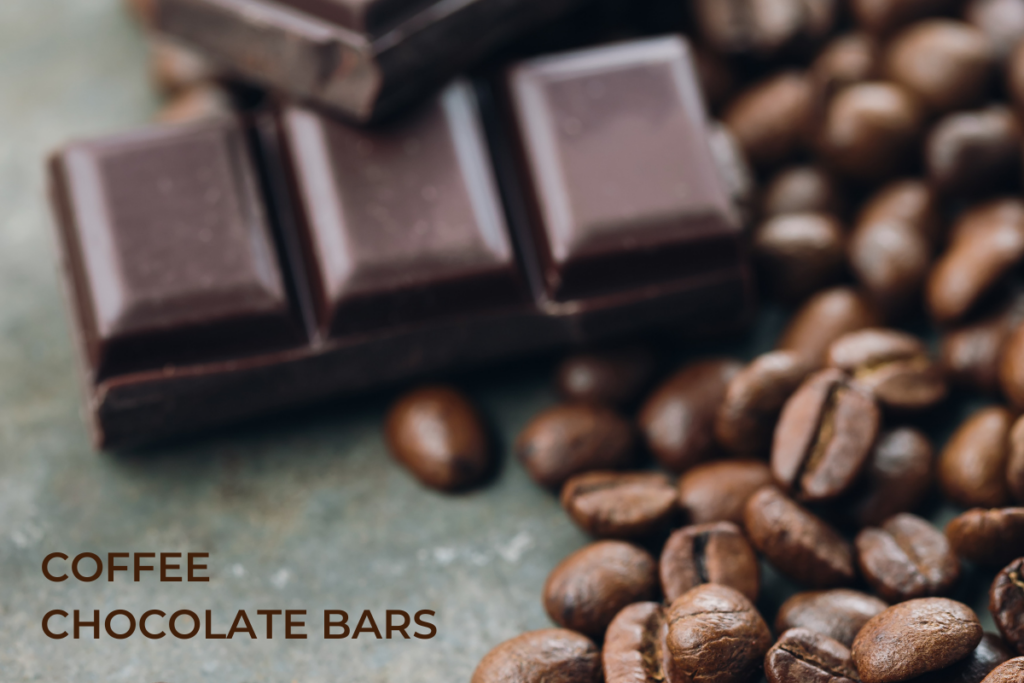
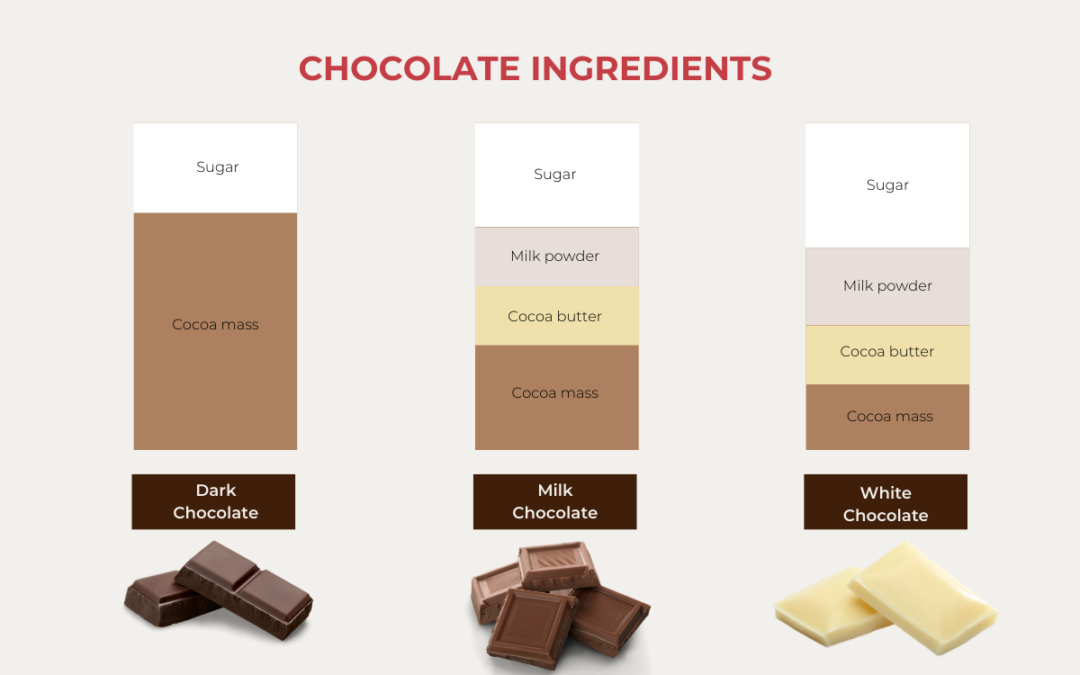
To create stunning 3D chocolate decorations, you’ll need some essential materials. The most important is workable chocolate, like couverture chocolate, which is ideal for molding. You can choose from dark, milk, or white chocolate depending on your design preference.
- Silicone Molds: These flexible molds come in various shapes and sizes, allowing you to create intricate and detailed 3D designs. Ensure the molds are specifically designed for food use.
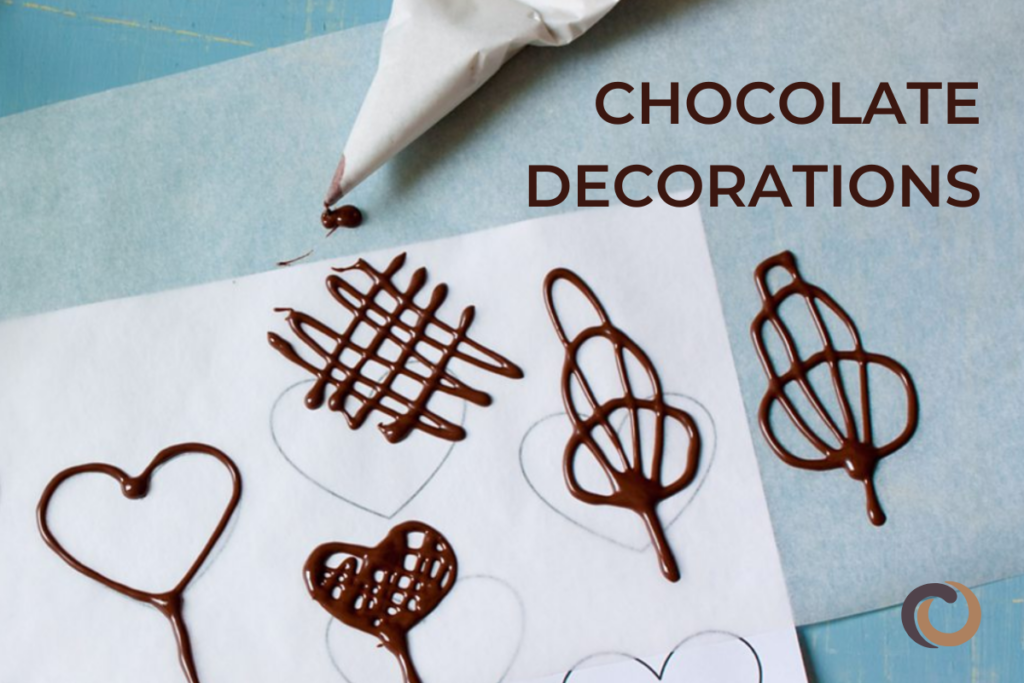
- Piping Bags: Use disposable or reusable piping bags to add decorative details or to fill molds with melted chocolate.
- Double Boiler or Microwave: These warming tools are essential for melting and tempering chocolate. A double boiler provides better temperature control, while a microwave is quicker but requires careful stirring and temperature monitoring.
- Spatula: A spatula or spoon will help you mix, scrape, and pour melted chocolate into molds smoothly.
- Cooling Rack or Baking Sheet: Once your decorations are made, place them on a cooling rack or a baking sheet lined with parchment paper to set properly.
- Thermometer: A thermometer is essential for tempering chocolate and accurately controlling its temperature.
Choosing the right molds for 3D chocolate
When crafting beautiful 3D chocolate decorations, choosing the right molds and tools is essential for achieving outstanding results. Silicone molds are particularly effective, as they are flexible and non-stick, making it easy to release your creations. Opt for high-quality, food-grade silicone molds designed specifically for chocolate; they come in a variety of shapes and sizes, ranging from simple geometric patterns to intricate designs.
In addition to silicone, polycarbonate molds are an excellent option for creating precise, sharp details in your chocolate decorations. These more rigid molds are often favored by professionals since they can produce polished, high-quality finishes. However, polycarbonate molds tend to be more expensive. Less expensive PET plastic molds will work as well, but they can’t produce the same level of fine details. By selecting the right molds, you can elevate your chocolate artistry and create stunning decorative pieces.
Preparing your chocolate and molds for 3D decoration
Preparing your chocolate properly is crucial for achieving stunning 3D decorations. Ensure that all tools and surfaces are completely dry, as moisture can cause chocolate to seize. This is especially important when melting chocolate and preparing molds.
- Prepare the Chocolate: Melt your chocolate using a microwave or double boiler.
- Temper the Chocolate: Tempering chocolate is essential for creating a smooth, glossy finish and ensuring it sets properly.
- Check Consistency: Once tempered, the chocolate should have a smooth and pourable consistency, ideal for filling molds. If it’s too thick, you may need to reheat it gently and re-temper.
- Mold the Chocolate: Once your chocolate is properly tempered and at the right consistency, it’s ready to be poured into molds. Work quickly but carefully to fill the molds evenly.
- Tap the Mold: Gently tap the mold on the counter. This will help the chocolate spread into the mold and also remove any air bubbles that might be hiding in your chocolate.
Creating basic 3D shapes with chocolate
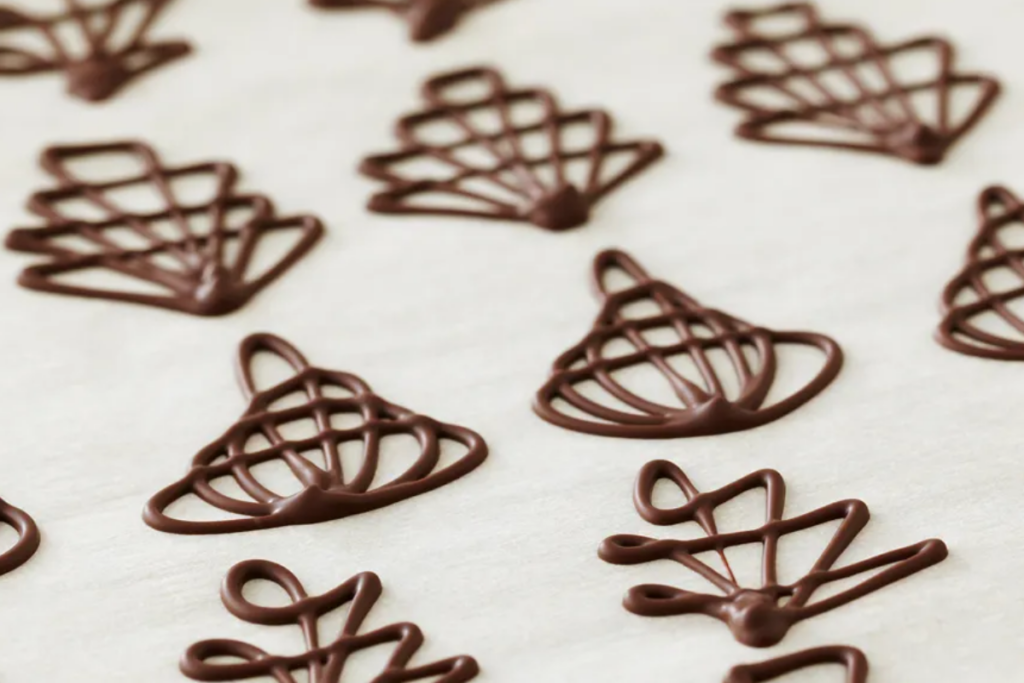
There are some simple tricks to create 3D shapes that will make you look like a pro. Start by practicing how to pipe your own chocolate decorations. Once you have that skill developed, you can easily turn your 2D decoration into 3D decoration by bending your parchment paper while the chocolate is still malleable. It’s that simple.
Once the chocolate has started to set, bend your chocolate decoration and lay it into a bowl or baking pan to maintain the new shape. Once the chocolate has fully set, you can peel away the paper to reveal your 3D chocolate creation. Timing is important here. If you bend too soon, the chocolate will run and ruin your design, but if you bend too late, the chocolate will crack into pieces. Practice a few times to learn the perfect timing for your bends. You should be able to determine the perfect timing by looking at the sheen on the surface of the chocolate. With time, you’ll learn to recognize the best timing. Practice makes perfect!
How to “glue” chocolate together to create 3D designs
There are several techniques for “gluing” 2D chocolate pieces together to create 3D chocolate designs:
- Melt and Stick – Touch the chocolate piece to a warm plate to melt the edge. Press and hold the piece onto another chocolate piece until the chocolate has set.
- Chocolate “Glue” – Pipe melted chocolate between two parts. Press together and hold until the chocolate has set.
You can use freeze spray to speed up the process. Freeze spray is a can of compressed air that sprays out cold air to help set the chocolate faster.
Tips and tricks for successful 3D chocolate decorating
- Don’t rush the tempering process; it’s essential for achieving a good finish.
- Practice with different shapes to build your skills and confidence.
- Make extra pieces since it’s not unusual for parts to break.
- Experiment with layering or combining different shapes for more complex designs.
- Be bold. If pieces break, you can always melt them down and start over without any waste.
Add a bit of color
Once you have gotten comfortable building your 3D masterpieces, try adding a little color. Airbrushing color onto your chocolate is another way to add dimension and 3D effects to your design. You can learn more about airbrushing chocolate from our comprehensive airbrushing guide.
Storing your 3D chocolate decorations
If you are planning to use your chocolate decoration at a later date, proper storage and maintenance are key to keeping your 3D chocolate decorations looking great and tasting fresh. Store them in a cool, dry place, ideally between 60-70°F (15-21°C), away from direct sunlight and heat sources. Keep chocolate decorations in airtight containers to protect them from moisture and odors, and layer them with parchment paper to prevent sticking.
For more great articles and recipes, check out the rest of our CocoTerra blog.
If you have any questions or comments, feel free to contact us through our social media channels. We are @cocoterra_co on Instagram and Pinterest and @cocoterraco on X (aka Twitter) and Facebook.

