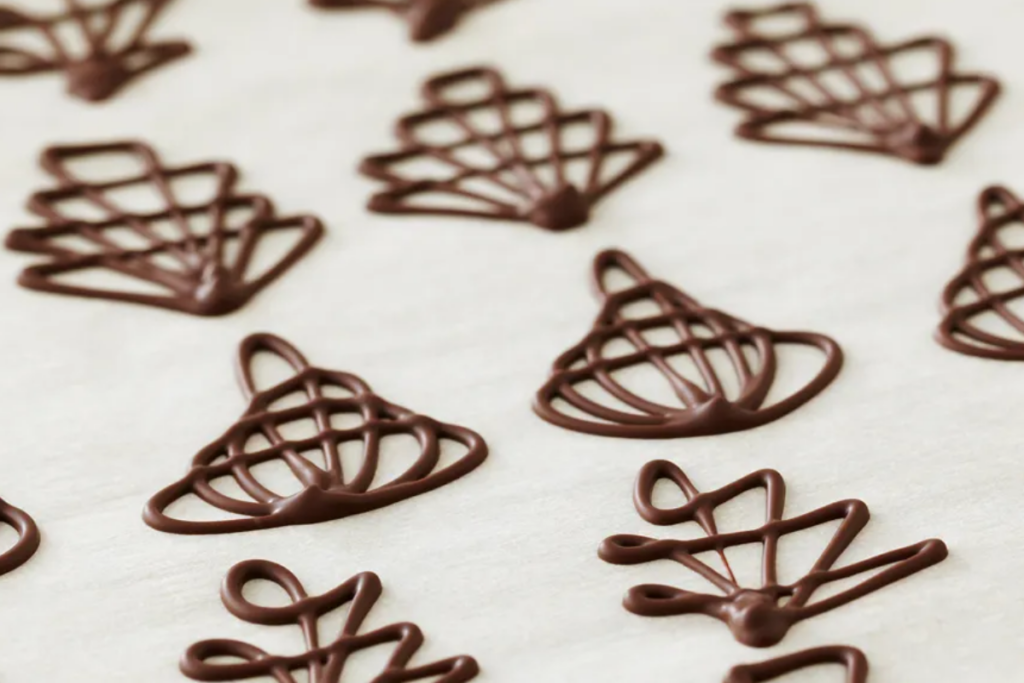
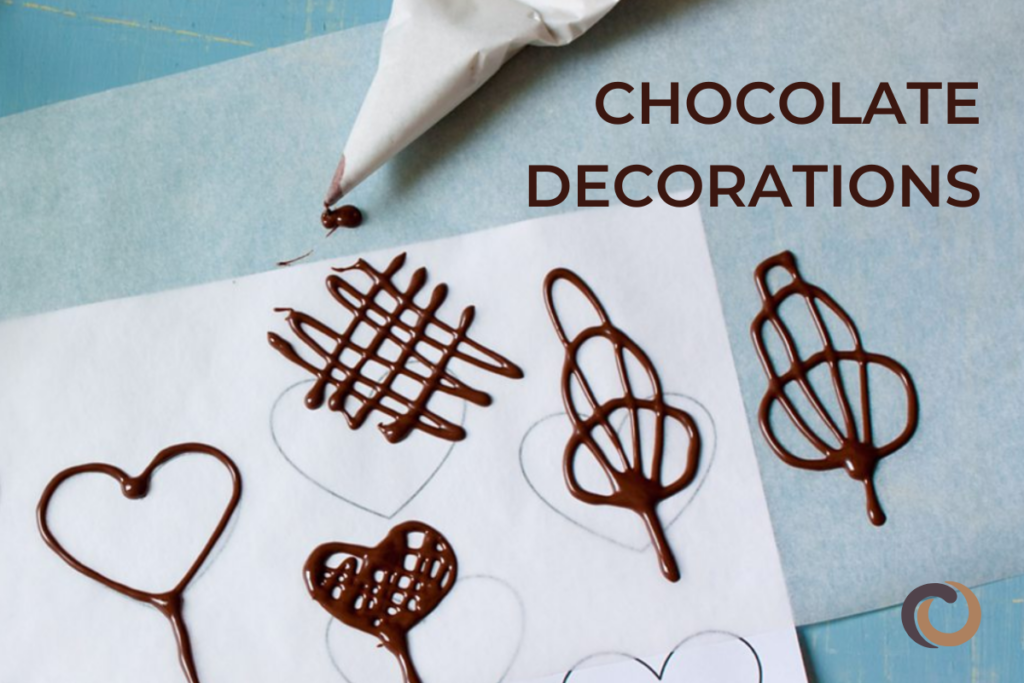
Have you been frustrated by the limitations of standard chocolate molds? Maybe you need something custom-made, or perhaps the mold you want simply doesn’t exist. Whether it’s crafting the perfect size, reproducing a unique shape, or preserving a cherished object in chocolate form, making custom molds opens up new possibilities for creativity and personalization.
Join us as we explore the world of home-made chocolate molds, where your imagination knows no limits and your chocolate skills can reach new levels. Keep reading to learn how to create a specific size, a unique shape, or a personalized mold from a sentimental object with DIY molds. It’s time to roll up your sleeves and get crafty by making your own chocolate mold!
How to make custom chocolate molds
Creating custom chocolate molds can be a fun and imaginative experience. We’ve found that using silicone molds or PET molds yields the easiest and cleanest results. Which method you choose may depend on the level of detail you want in your DIY mold. Below, we will explain both methods so you can choose the one that’s right for you.
Custom Silicone Molds
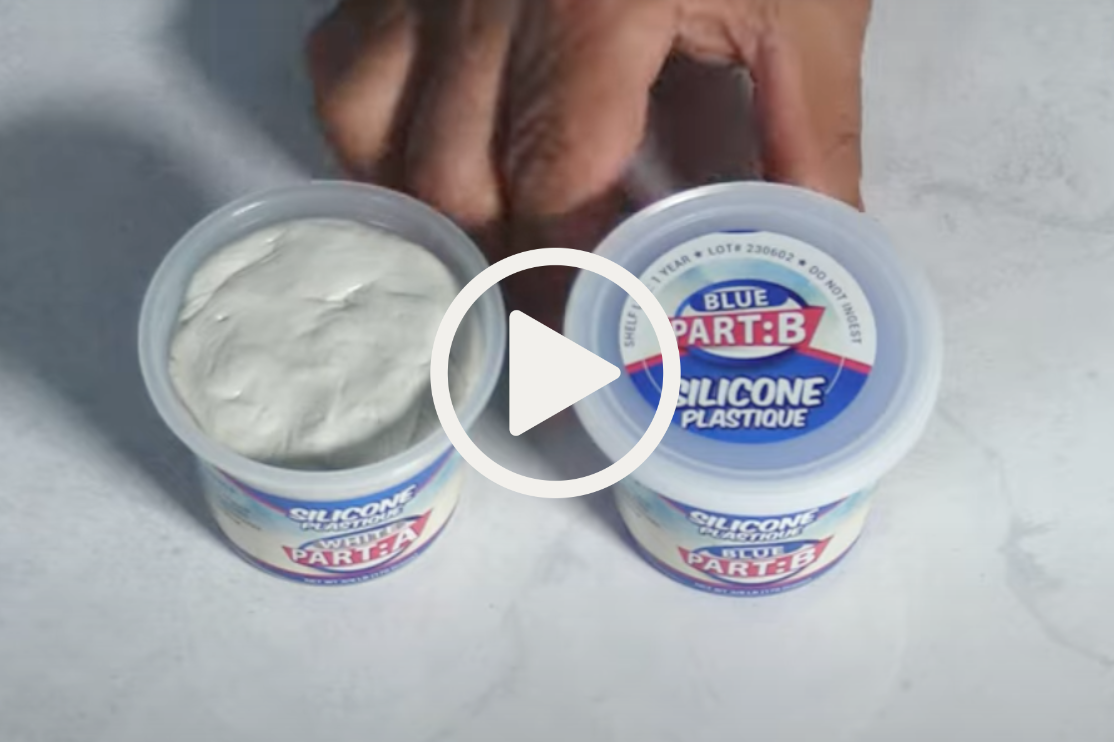
You can find moldable silicone materials online from Make Your Own Molds. They offer various options, but in this tutorial, we’ll focus on Silicone Plastique. While there are other suppliers and types available, if you choose a different brand, make sure to follow their instructions as they may differ from the method outlined here. And make sure that whatever material you select is food-grade.
Silicone Plastique is an easy-to-use, food-grade silicone mold-making putty suitable for both beginners and experienced mold makers. Its compliance with FDA guidelines ensures it is a safe and reliable choice for culinary creations, as well as basic arts and crafts. Silicone Plastique delivers professional-grade results for chocolate molds, candy molds, ice cube trays, and more.
Feel free to check out this video tutorial from Make Your Own Molds where they explain step by step how to make the molds with Silicone Plastique.
Silicone Mold Instructions
Silicone Plastique is not a liquid but rather has the consistency of cookie dough. You can apply it by hand to almost any surface or roll it out between sheets of plastic to make a moldable sheet. It cures in about an hour, creating a flexible yet durable rubber mold safe for direct food contact. Silicone Plastique can withstand temperatures from below freezing up to 400°F. You only mix and use the amount you need, making it more cost-effective than liquid silicones. In short, it is perfect for molding chocolate.
Step 1: Measure equal amounts of Part A (White) and Part B (Blue) by weight or volume.
Step 2: Combine Parts A & B and knead them together until a uniform color is achieved. Your Silicone Plastique is now ready to use and should remain workable for 15-20 minutes.
Step 3: Rub a small amount of Silicone Plastique into the details of your object, creating an initial layer, called a skim coat. Make sure that you leave one side open so you can remove your object from the mold (unless you plan on cutting your mold in half).
Step 4: Apply a second layer, at least one-quarter inch thick, covering the object’s surface (note: to bond correctly, secondary layers of Silicone Plastique must be applied before the previous layer has fully cured).
Step 5: Cure your mold for 60-75 minutes at room temperature.
Step 6: Once fully cured remove your original object from the Silicone Plastique.
And voila! Give it a quick wash and your mold is ready to be filled with chocolate!
Important Silicone Mold Making Tips
- Wash and dry your hands before working with Silicone Plastique. In addition to good hygiene, washing hydrates dry skin and prevents the Silicone Plastique from sticking to your hands.
- When making molds for food, all mold making materials and objects to be duplicated should be non-toxic and food grade.
- Some materials may inhibit proper curing of Silicone Plastique. Sulfur (found in many sculpting clays and in latex gloves), adhesives, caulk, and some types of vinyl are common examples that cause problems. When in doubt, test for compatibility by applying a small amount of mold making material and allow it to cure before making a full mold of the entire piece.
- FDA guidelines state that all newly made molds should be washed after curing and before use. Cured molds can be washed in the dishwasher, or cleaned with soap and hot water. You can even sterilize them in boiling water.
- If you want more time to make a mold, refrigerate Parts A and B separately before mixing. Cold Silicone Plastique will cure at a slower rate allowing more time for its application onto a large or intricately detailed original.
- Silicone Plastique can be used at temperatures as high as 400°F and can also be used to freeze foods into a particular shape.
Custom PET Plastic Molds
Materials and Equipment:
- PET Plastic Sheets: These can be purchased from your local plastic shop, such as TAP Plastics, or some plastic picnic plates can even be used as your starting material.
- Vacuum Former: This uses a vacuum to form the mold around the master objects. You can buy one or build your own “Peanut Butter Jar” vacuum former.
- Master Object: An object from which the mold will be created. This can be a household item or a 3D printed master with the desired features and dimensions.
- Oven, Hair Dryer or Heat Gun: The PET sheets must be heated until they become pliable and moldable.
Method:
- Select or Create an Object: Design and create a master mold using a material like wood, metal, or 3D printing. This will be the template for your chocolate mold.
- Preheat Oven: Preheat the oven to 250°F to 300°F (121°C to 149°C). Check the specs of your specific material since the temperature and time may depend on the type and thickness.
- Heat the Sheet: Place the PET sheet in the oven or use a heat gun to warm the plastic until it becomes pliable.
Vacuum Forming:
- Position the Master: Place the master object on the vacuum forming platform.
- Form the Mold: Place the heated PET sheet over the master and activate the vacuum. The vacuum will pull the PET sheet tightly around the mold, copying its shape.
- Cool the Mold: Allow the PET sheet to cool and harden while it is still on the master.
- Trim: Once cooled, remove the master object from the formed mold. Trim any excess material from the edges to create a clean, usable chocolate mold.
And voila! Your mold is ready to be filled with chocolate!
Make sure to follow safety guidelines and manufacturer instructions for the equipment used in these processes.
We would love to see your creations! If you make chocolate molds, please share your masterpieces with us on our social media channels.
For more great articles and recipes, check out the rest of our CocoTerra blog.
If you have any questions or comments, feel free to contact us through our social media channels. We are @cocoterra_co on Instagram and Pinterest and @cocoterraco on X (aka Twitter) and Facebook.
")