Looking to add a touch of elegance to your desserts? In this article, we’ll show you how to pipe chocolate decorations! These simple yet beautiful designs are perfect for cakes, plated desserts and other sweets. With quality chocolate and easy piping techniques, you can create stunning decorations that will impress your guests. Let’s start and unleash your chocolate creativity!
What are the essential materials for creating piped chocolate decorations?
Creating piped chocolate decorations requires just a few essential materials. With these basics, you’ll be ready to craft beautiful, intricate chocolate accents perfect for cakes, cupcakes, or other desserts.
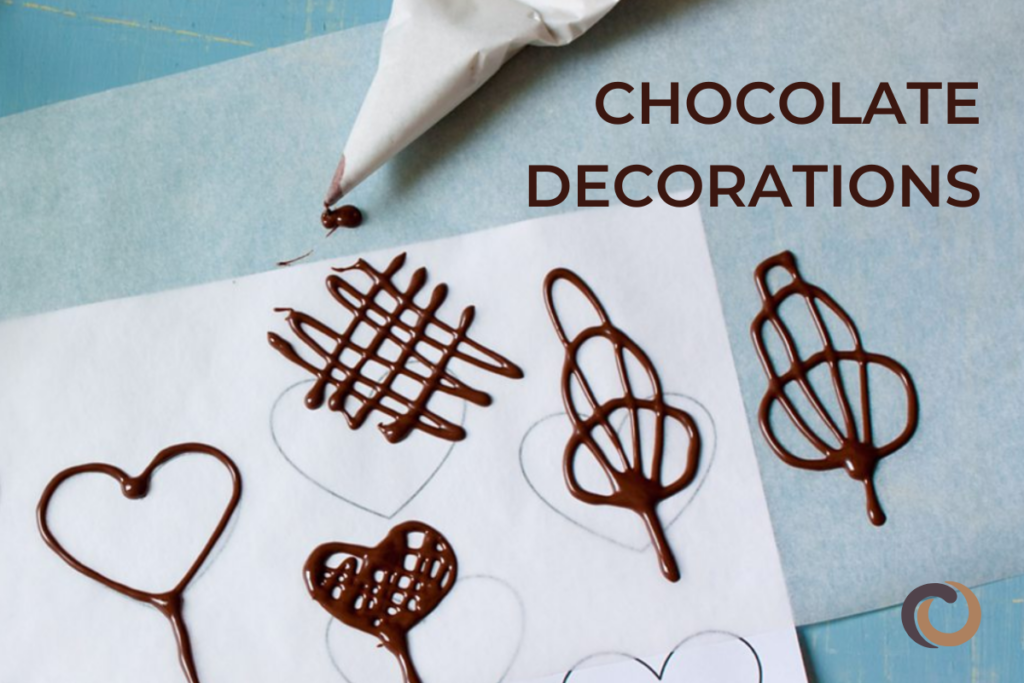
- Piping Bags: Both disposable and reusable piping bags work great. Alternatively, you can use a small zip-lock bag as a makeshift piping bag by snipping off a tiny corner.
- Piping Tips: Using small round or fine-tipped piping tips isn’t necessary but can help you control the flow and add detail to your chocolate designs.
- Baking Sheet and Parchment Paper: Pipe your designs onto a parchment-lined baking sheet for easy removal and cleanup.
- Microwave-Safe Bowl or Double Boiler: Both methods work well for melting chocolate: a double boiler gives better temperature control, while the microwave is quicker but requires frequent stirring.
- Toothpicks or Small Skewers: Use these to smooth or adjust the edges of your designs right after piping, if needed.
Choosing the best chocolate for piping
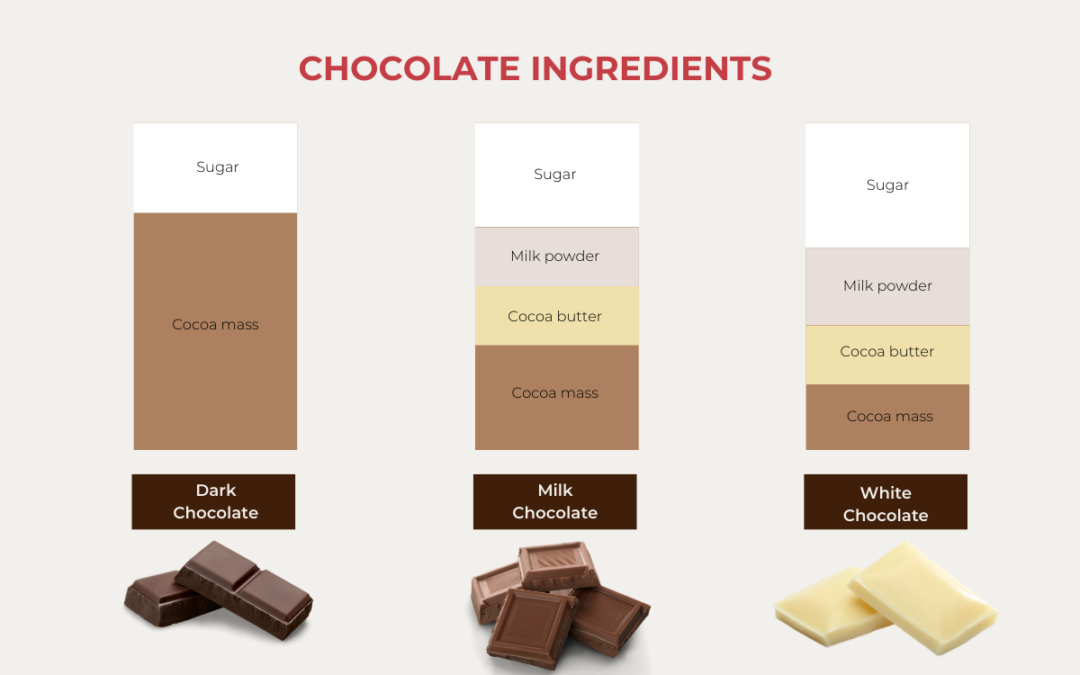
Opt for couverture chocolate with a high cocoa butter content—it melts smoothly and sets with a glossy finish, making it perfect for piping. Dark chocolate is often preferred for its stability and contrast, but milk chocolate offers a softer look, and white chocolate can add brightness, though it’s a bit more heat-sensitive.
Tempering the chocolate is key for crisp, glossy decorations and to prevent blooming (the white streaky appearance). Avoid chocolate chips, as they contain stabilizers that interfere with smooth melting. For best results, stick to high-quality chocolate bars or couverture chocolate.
Preparing your chocolate for piping
To achieve smooth, professional-looking piped decorations, proper preparation is key. Start by gently melting high-quality chocolate (preferably couverture) over a double boiler or in short bursts in the microwave, stirring frequently. Once fully melted, let the chocolate cool slightly until it thickens to a workable consistency. This will give you better control and precision while piping intricate designs.
How to temper chocolate for perfect piping
Tempering chocolate is essential for achieving a smooth, glossy finish and a crisp texture, perfect for creating professional-looking piping decorations. Properly tempered chocolate holds intricate designs beautifully and sets quickly, giving your creations a polished sheen. Check out this article for a step-by-step guide on how to temper chocolate correctly!
Coloring techniques for vibrant piped chocolate
To elevate your piped chocolate decorations, incorporating color is an effective way to enhance their visual appeal. Start by using oil-based colorants designed specifically for chocolate to avoid graininess. Powdered food colorants or cocoa powders can also be used for direct mixing or dusting for a beautiful finish. For convenience, consider candy melts, which come pre-colored and are easy to work with. You can create your own chocolate paint by mixing tempered chocolate with oil-based colors, ideal for detailed designs. For a professional touch, airbrush techniques allow for smooth gradients, while layering different colors can add depth to your creations. Finally, don’t hesitate to mix shades to develop unique hues.
Designing geometric patterns with piped chocolate
Step-by-Step Guide
Plan Your Design:
Before piping, sketch your geometric patterns on parchment paper or use a ruler to create light guidelines. This helps keep shapes and sizes consistent.
Prepare Your Chocolate:
Temper your chocolate for a smooth, glossy finish. Melt it to a consistency that’s thick enough to hold its shape but still flows easily through the piping tip.
Fill Your Piping Bags:
Select the right piping tip for your design, fill the bag with tempered chocolate, and twist the top to ensure a smooth flow.
Start Piping:
Start with basic shapes like lines, circles, or triangles. Hold the piping bag at a steady height and apply even pressure as you pipe. For straight lines, follow your pre-drawn guides smoothly. For curves, keep your hand steady and trace the shape carefully.
Create Layers:
Experiment with layering different shapes and colors of chocolate. Allow each layer to set slightly before adding another to create depth in your design.
Add Details:
Use smaller piping tips to add fine details or accents to your geometric designs, such as dots, borders, or overlapping shapes.
Chill to Set:
Once you’re happy with your design, put the parchment or silicone mat in the refrigerator for a bit to let the chocolate harden completely.
Assemble:
Once the decorations are set, gently peel them off and place them on your desserts. If needed, use a little melted chocolate to help them stick.
Finishing Touches:
For an extra touch, sprinkle your designs with edible glitter, cocoa powder, or powdered sugar to make them pop.
Creative Design Ideas for Piped Chocolate Decorations?
Botanical Motifs
Make delicate vines, leaves, and flower patterns to add an elegant, nature-inspired touch to your desserts. Try different leaf shapes and tiny blossoms to bring depth and sophistication to your designs.
Geometric Patterns
Use lines, triangles, and abstract shapes for a modern touch. Layering or overlapping these geometric designs on cakes or pastries creates a unique, minimalist effect that stands out beautifully.
Animal Silhouettes
Piping simple animal silhouettes, like birds, butterflies, or rabbits, adds a charming touch to themed events or children’s desserts. These playful shapes look delightful and elegant when made with dark or white chocolate.
Textured Swirls and Curls
For a dynamic effect, pipe intricate swirls and curls that add movement to your dessert. You can create everything from delicate waves to bold spirals for a stunning decoration.
Personalized Messages
Piping custom messages or names in chocolate is a great way to personalize cakes for birthdays or celebrations. Experiment with different fonts to create a sophisticated or playful look.
Lacework and Filigree
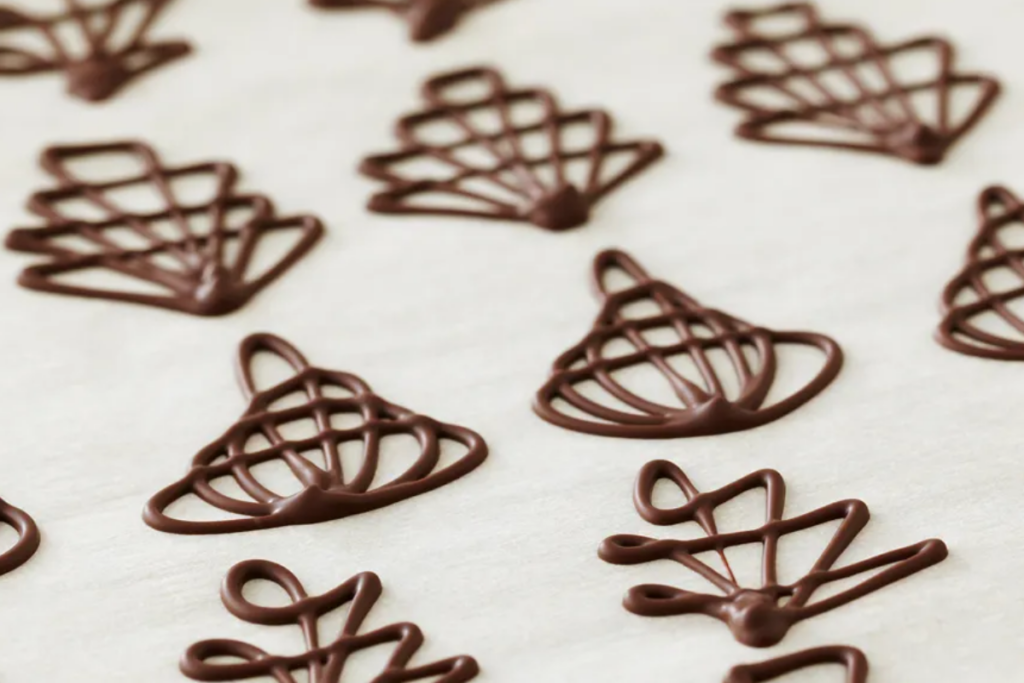
Lace-like patterns and delicate filigree designs add a beautiful touch to desserts. Use thin piping tips and a steady hand to create these intricate, lacy decorations, perfect for wedding cakes or elegant pastries.
Gold Accents
After piping and setting your chocolate, gently brush on edible gold dust or apply gold leaf. This adds a luxurious touch, making any dessert feel special and festive.
Seasonal Shapes
Embrace seasonal themes by piping designs like snowflakes for winter, leaves for fall, or flowers for spring. Tailoring your chocolate decorations to the season adds a creative and relevant touch.
3D Effects
Try layering piped chocolate to create 3D shapes. Let each layer set slightly before adding the next one for a sculptural effect that really stands out.
For more great articles and recipes, check out the rest of our CocoTerra blog.
If you have any questions or comments, feel free to contact us through our social media channels. We are @cocoterra_co on Instagram and Pinterest and @cocoterraco on X (aka Twitter) and Facebook.


