In this edition, we’ll explore the fascinating world of roasting cocoa beans, an essential step in the chocolate-making process. Join us as we dive into the details of roasting, uncovering its significance and revealing the magic it adds to your chocolate creations.
What are cocoa beans?
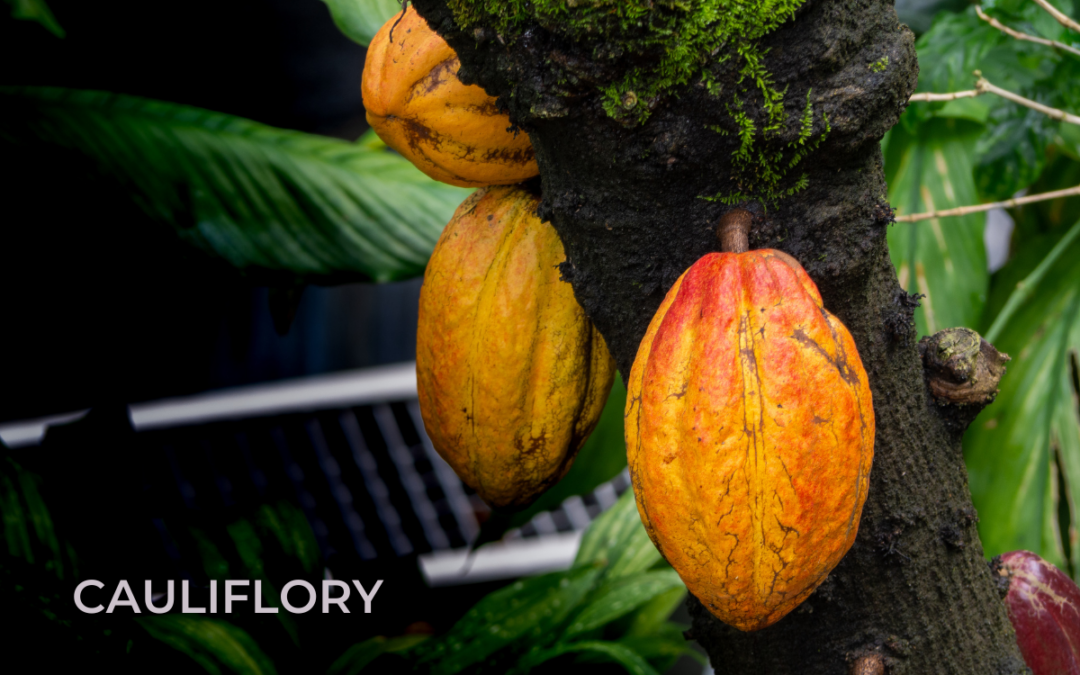
Cocoa beans are the dried and fully fermented seeds from the cacao tree, Theobroma Cacao. These beans are the main ingredient for making chocolate. It all starts by picking ripe cacao pods, removing the beans, and letting them ferment to develop their special flavor. After fermenting, the beans are dried, roasted, and ground to make delicious chocolate treats.
Why are cocoa beans roasted? The importance of roasting cocoa beans
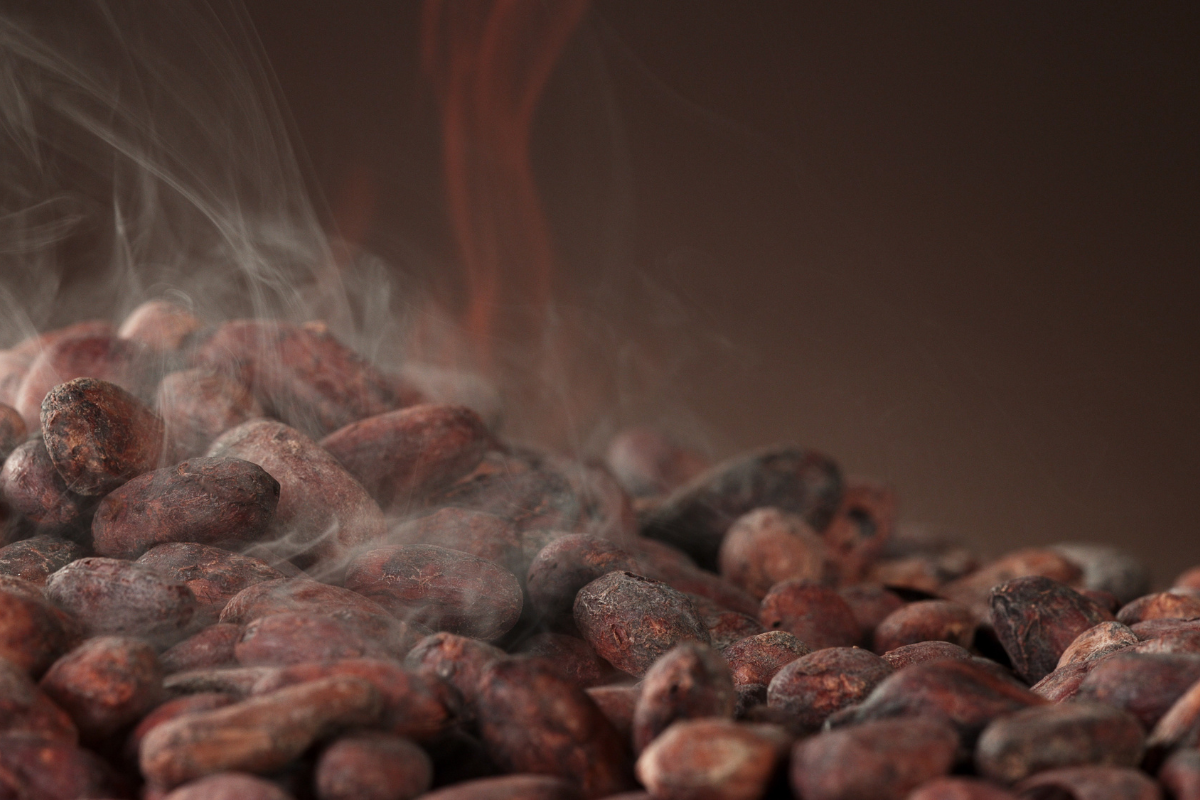
Roasting cocoa beans is a crucial step in the chocolate-making journey, serving various crucial purposes. Beyond being a key player in crafting the complex and indulgent flavor profile of chocolate, roasting is instrumental in accentuating its deep, intense chocolatey taste while mitigating acidity and highlighting the inherent sweetness of the beans. This process also initiates the Maillard reaction, a chemical reaction between amino acids and reducing sugars that contributes to the development of rich flavors and the characteristic brown color of chocolate.
Furthermore, the roasting process contributes to the formation of aromatic compounds that define chocolate’s distinct aroma, unlocking the full potential of the hidden aromas within the cocoa beans. Roasting also addresses practical aspects by reducing the moisture content in the beans.
This moisture reduction aids in the subsequent grinding process, by lowering the viscosity of the liquid chocolate.
Notably, cocoa beans undergo a visually transformative journey during roasting, transitioning from a pale beige to a rich, deep brown hue. This color change signifies that chemical reactions are occurring within the beans, influencing the final color of the chocolate. When managed properly, this process effectively eliminates undesirable or off-flavors that might be present in raw cocoa beans. By subjecting the beans to controlled heat during roasting, various compounds contributing to undesirable tastes are neutralized or transformed, ensuring a smoother and more harmonious flavor profile in the final chocolate product. The meticulous nature of the roasting process, when executed with precision, contributes to the creation of a well-balanced and thoroughly enjoyable chocolate taste that captivates the senses.
Can cocoa beans be roasted at home?
While chocolate makers use specialized roasting equipment to roast large quantities of cocoa beans, roasting can be done in the home kitchen. The simplest method is to lay the beans out on a cookie sheet and throw them in the oven. If you want a more precise roasting method, coffee bean roasters, such as the Behmor 1600 drum roaster, can be used to control the roast profile.
It’s important to understand while there is a lot of science that guides the roasting process, it is also an art form. People have developed their roasting skill and knowledge over time, so don’t get discouraged if your first batches don’t come out exactly the way you want them to.
Equipment and materials needed to roast cocoa beans at home:
- Oven or Coffee Roaster: Use your over or invest in a home roasting machine designed for cocoa/coffee beans. These machines offer precise temperature control and rotation for even roasting.
- Baking Sheet: If a roasting machine isn’t available, you will need a large baking sheet with a rim (so the beans don’t slide off and onto the floor!). Make sure to spread the beans evenly in a single layer for uniform roasting.
- Oven Mitts: Keep oven mitts on hand which are necessary for safely managing hot roasting equipment and trays.
- Timer: Use a kitchen timer to track the roasting time accurately.
- Cooling Rack: After roasting, allow the beans to cool on a rack to prevent overcooking.
- Scale: Accurate weighing of cocoa beans is crucial for consistent roasting.
- Thermometer: Use a contactless, digital thermometer to check and monitor the temperature of the roasting process.
Step-by-Step Guide to Roasting Cocoa Beans In an Oven
Ingredients
- 2 Cups of cocoa beans
Materials
- Baking Sheet
- Home Oven
- Oven Mitts
- Cooling Rack
Method
Step 1
Preheat your oven to 275°F. Make sure the oven is fully heated before placing the cocoa beans inside.
Step 2
On a baking sheet, evenly arrange the cocoa beans. Spread them in a single layer to ensure uniform roasting. Discard any beans that are small, flat, cracked, stuck together, or overly large.
Step 3
Put the loaded tray in the oven, roast for 5 minutes, then reduce the heat to 250°F. Continue roasting the cocoa beans for approximately 20 minutes more, making sure to rotate the tray halfway through. Keep a close eye on them to avoid over-roasting.
Note: Darker-roasted beans provide a robust and more bitter chocolate taste, whereas lighter-colored beans offer a more fruity and citrusy flavor. There’s no right or wrong; it all depends on the flavor you’re aiming for. Keep in mind that the longer you roast them, the stronger and more bitter the flavor will become.
Step 4
As the cocoa beans roast, you’ll notice color changes, shifting from orange and light brown to golden brown. Pay attention to cracking sounds – the “first crack” and “second crack” – which signify various roast levels.
Step 5
After roasting, use oven mitts to safely take out the tray from the oven. Move the beans to a cooling rack to stop them from cooking further.
Step 6
After roasting, let the beans cool. Winnow the beans by either peeling off the outer shell/skin by hand or use a wooden spoon or rolling pin to crush the cocoa beans into cocoa nibs. The shells can be blown away with a hair dryer. Transfer the nibs to a clean bowl and enjoy the cacao at room temperature for a crunchy treat or continue with the next steps of your homemade chocolate-making journey.
Cocoa bean roasting profile and factors affecting profiles
Roasting cocoa beans involves key parameters like temperature, time, and ensuring an even roast that directly affect the resulting chocolate flavor. Higher temperature roasting can diminish acidity and bring out darker, caramel, and molasses notes. However, if not carefully monitored, high roasts may introduce bitterness by burning the beans. It’s better to start on the lighter side and roast longer on subsequent batches if decide that you want a deeper chocolate flavor.
While many chocolate makers roast whole beans, some choose to perform “nib roasting.” In this industrial process, beans are first broken into nibs prior to roasting, allowing for a more even, controlled roast. However, this method can also lead to flavor loss and a higher risk of overroasting.
Common roasting issues and how to avoid them
Roasting cocoa beans is a delicate process, and several issues can pop up during this stage of chocolate production. Here are some common cocoa roasting issues and tips on how to avoid them:
Uneven Roasting:
- Issue: Under-roasting or over-roasting some of the beans, leading to inconsistent flavor.
- How to avoid it: Spread the cocoa beans evenly on the roasting tray, and occasionally rotate or stir them throughout the roasting process to ensure consistent heat distribution.
Burning beans
- Issue: Using excessive heat or roasting for too long, which can cause the beans to burn or scorch, leading to undesirable flavors.
- How to avoid it: Keep a close eye on the roasting temperature, and follow recommended time guidelines. Consider using lower temperatures for longer durations to achieve a balanced roast.
Flat Flavor:
- Issue: Insufficient roasting may result in underdeveloped flavors or a flat taste profile.
- How to avoid it: Fine-tune the roasting time and temperature for optimal flavor compound development. Typically, a range of 20-25 minutes at 250°F is ideal; too little time may result in a flat taste.
Inconsistent Color:
- Issue: Variations in color among beans may occur if the roasting process is not uniform.
- How to avoid it: Ensure uniform heat distribution by rotating or stirring the beans during roasting. Adjust temperature and time settings for consistent results. Make sure your tray of beans are not too close to the heating element.
As we finish exploring the world of roasting cacao beans, it’s clear that this step isn’t just important; it’s a crucial part of making chocolate. Understanding how roasting impacts flavor, aroma, moisture, color, and the removal of undesirable tastes shows how necessary it is. With our simple recipe, you can confidently roast your cocoa beans at home, opening up exciting possibilities for your chocolate-making journey. So, enjoy the process, appreciate the smells, and let the delicious flavors of your homemade chocolate shine. Happy roasting!
For more great articles and recipes, check out the rest of our CocoTerra blog.
If you have any questions or comments, feel free to contact us through our social media channels. We are @cocoterra_co on Instagram and Pinterest and @cocoterraco on X (aka Twitter) and Facebook.

