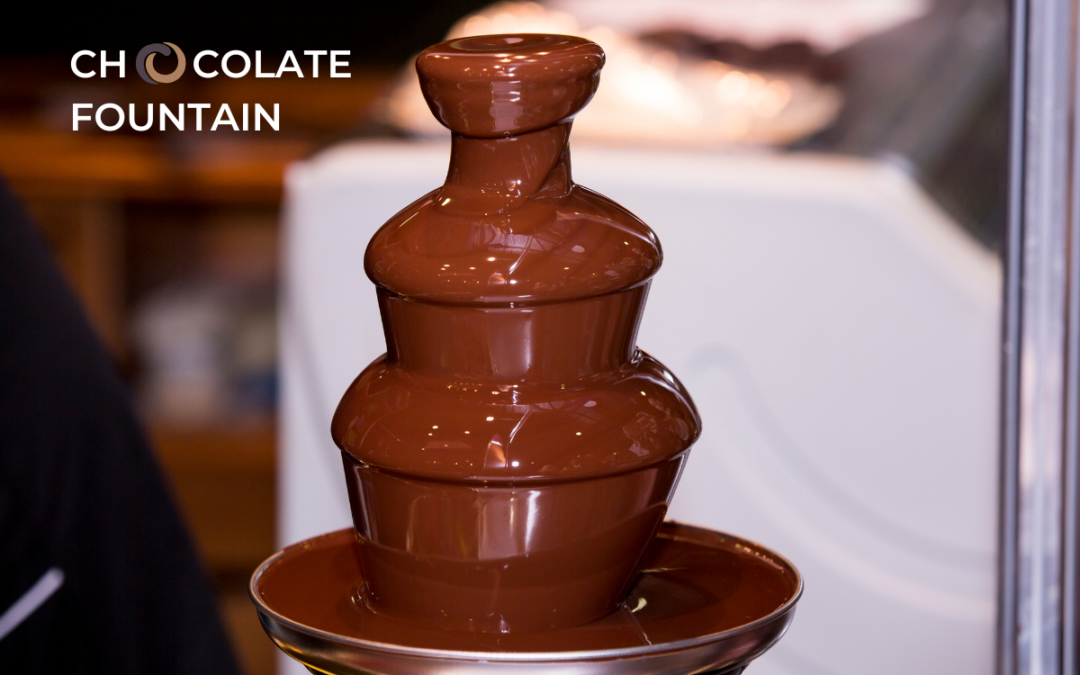
Try making the perfect batch of tempered chocolate! It may not sound like a challenging task, but it is. Tempering chocolate is tricky but not impossible, and it’s a key step in chocolate making and chocolatiering. Tempering ensures that the chocolate solidifies in a way that produces smooth-tasting, snappy, and shiny chocolate.
We have a whole blog article on chocolate tempering, but for this one, we will focus on an alternative tempering method using cocoa butter.
What are the reasons to temper chocolate?
The purpose of tempering is to pre-crystallize the cocoa butter in the chocolate and ready it for full crystallization or solidification. The pre-crystallization or “seeding” kicks off the process by which the cocoa butter molecules in the chocolate take on a stable crystalline form. When properly tempered, the chocolate will be shiny and hard, without melting in your hands. Proper tempering also has an added benefit which is that tempered chocolate contracts during cooling, which makes it easier to unmold.
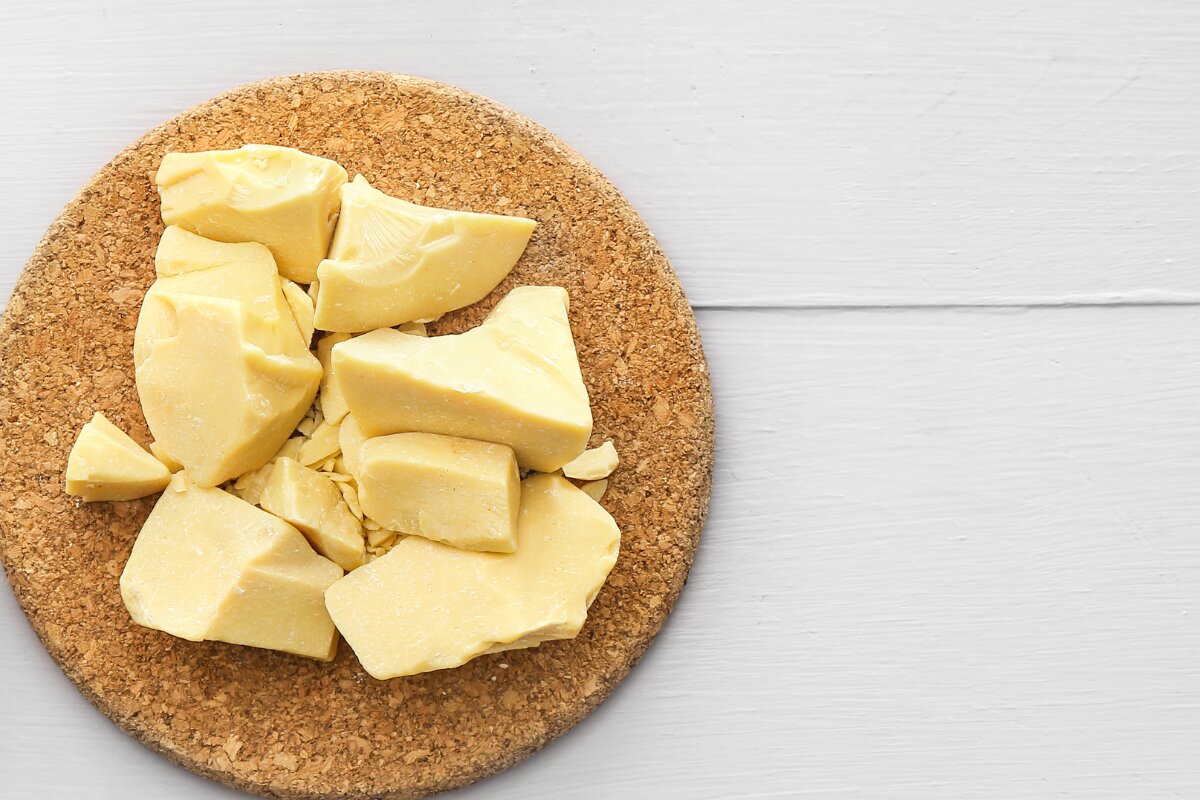
Tempering with cocoa butter
Tempering with cocoa butter is not hard and there are even multiple techniques, depending on your starting material.
Tempering with solid cocoa butter
If you are starting with chunks or a block of tempered cocoa butter, begin by bringing the chocolate up to the right working temperature (for example 90°F for dark chocolate). Shave the cocoa butter into your chocolate using a grater, adding about 1%-2% cocoa butter by weight. This will ensure that the crystalline structure (beta-5 crystals) of the cocoa butter is maintained in the process of seeding your chocolate. The key is to keep the chocolate at the exact target temperature for maintaining proper seed crystals in your chocolate. Once the cocoa butter is fully incorporated into your melted chocolate, you’re all set!
Tempering with cocoa butter powder
Another technique is to use cocoa butter that comes in a micro-powder format. Barry Callebaut has a 100% pure cocoa butter micro-powder called Mycryo. Mycryo greatly simplifies the tempering process. Adding the cocoa butter powder to your melted chocolate will ensure that you are introducing the proper, stable seed crystals (beta-6 crystals). With just about 2% Mycryo added to melted chocolate, you can easily create perfectly tempered chocolate.
Tempering with cocoa butter silk
Cocoa butter silk is a paste made from 100% cocoa butter that is packed with the proper crystals (beta-5 crystals) needed for tempering. Silk is produced by warming cocoa butter for a long time at 92.3°F.
By holding the cocoa butter at this temperature, the proper crystals will slowly form and stay intact, while any undesired crystals will melt away (since they have a lower melting temperature). The temperature must not exceed 92.3°F or else the desired crystals will also melt away. To achieve the exact temperature, you can use a sous vide appliance or a machine specifically made for making cocoa butter silk, such as the Magic Temper or EZ Temper.
How to temper chocolate with silk
Method
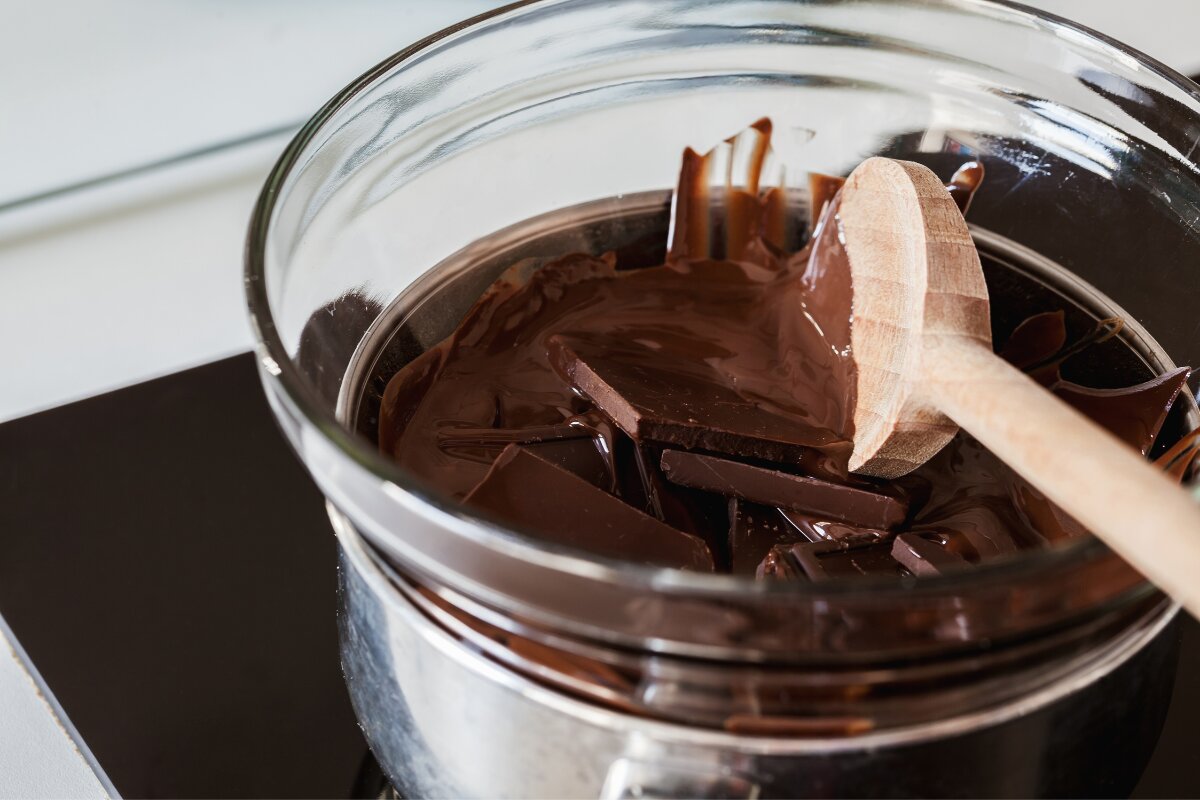
- Melt the chocolate completely (in a microwave or bain-marie).
- Cool the chocolate until it is between 89.6°F and 92.3°F.
- Add 1% of cocoa butter silk to melted chocolate. For example, 5g for 500g chocolate.
- Mix until completely incorporated.
- Stir to cool until it has reached the proper working temperature:
Dark chocolate: 87.8-89.6°F
Milk chocolate: 84.2-86°F
White chocolate: 82.4-84.2°F
How to temper chocolate with cocoa butter powder
Method
- Melt the chocolate completely (in a microwave or bain-marie).
- Allow the chocolate to cool to 93°F for dark chocolate or 91°F for milk and white chocolate.
- Add 1% Mycryo to your melted chocolate. fFor example, 5g for 500g chocolate.
- Mix until the powder is completely melted.
- Keep the chocolate temperature at 88°F for dark chocolate or at 84°F for milk and white chocolate.
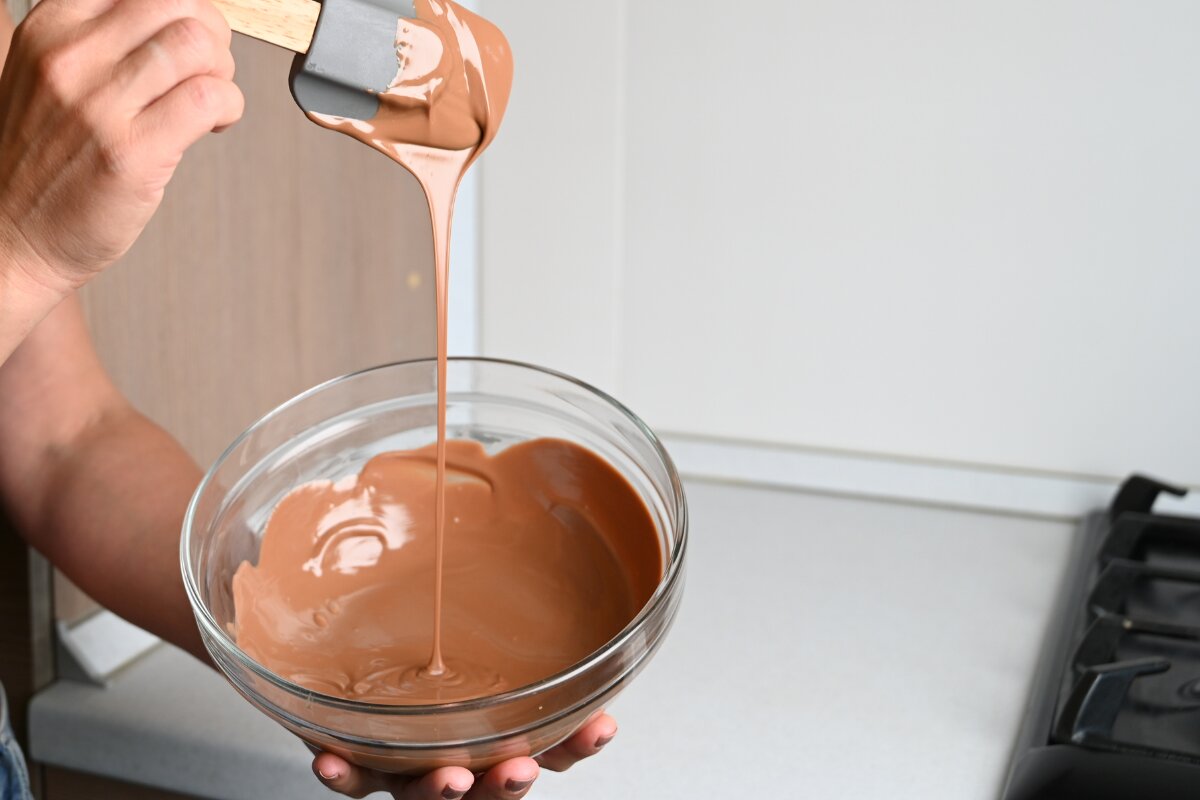
How do I know if my chocolate is in temper?
It’s always a good idea to test your chocolate to see if it’s tempered properly before you start using it.
To test your chocolate, take a piece of foil or parchment paper, drip a small amount of your chocolate onto it, and put it in the fridge (you can also dip the back of a spoon into your chocolate if you don’t have foil handy). The chocolate should solidify in about 3 minutes. The surface should look smooth and shiny. When you break off a piece, it should snap in half and not melt too easily in your hands.
If you see some streaks in your chocolate (called bloom) or if the surface is dull or the chocolate does not stay solid, you may need to add more tempered cocoa butter or re-temper, paying closer attention to your target temperatures.
There you have it — now you are ready to try your new tempering technique at home. We hope that you will be inspired to melt, temper, and re-melt your chocolate until you feel comfortable with these tempering techniques.
If these techniques have been a help to you, make sure to mention CocoTerra on social media when you post a photo of your chocolate creation. We would love to see if you put your tempering skills into practice!
We are @cocoterra_co on Instagram and Pinterest and @cocoterraco on Twitter and Facebook.

