If you’re looking to take your chocolate creations to the next level, look no further! We are going to tell you how to add gorgeous designs that can make your chocolates extra beautiful. Read on to discover how transfer sheets work and how you can use them to make your chocolates unique and really stand out. Of course, we’ll also explain how to apply them to your chocolates.
What are transfer sheets?
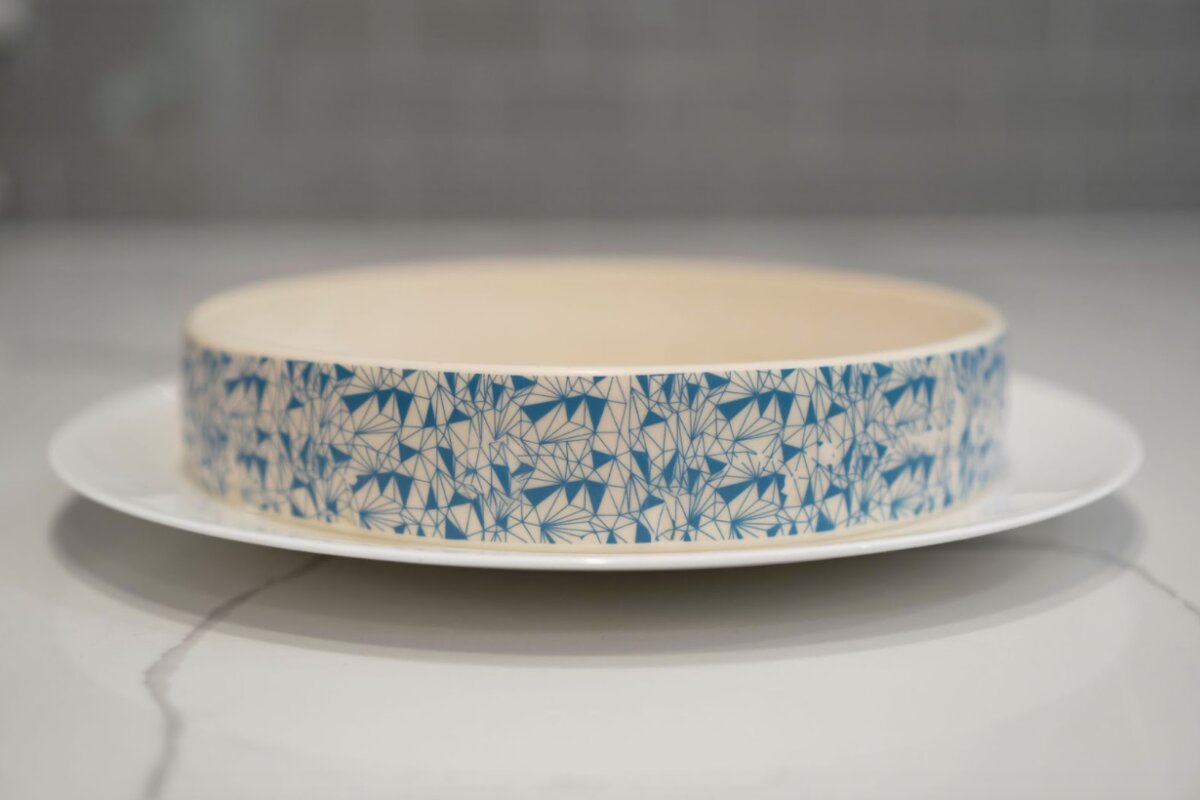
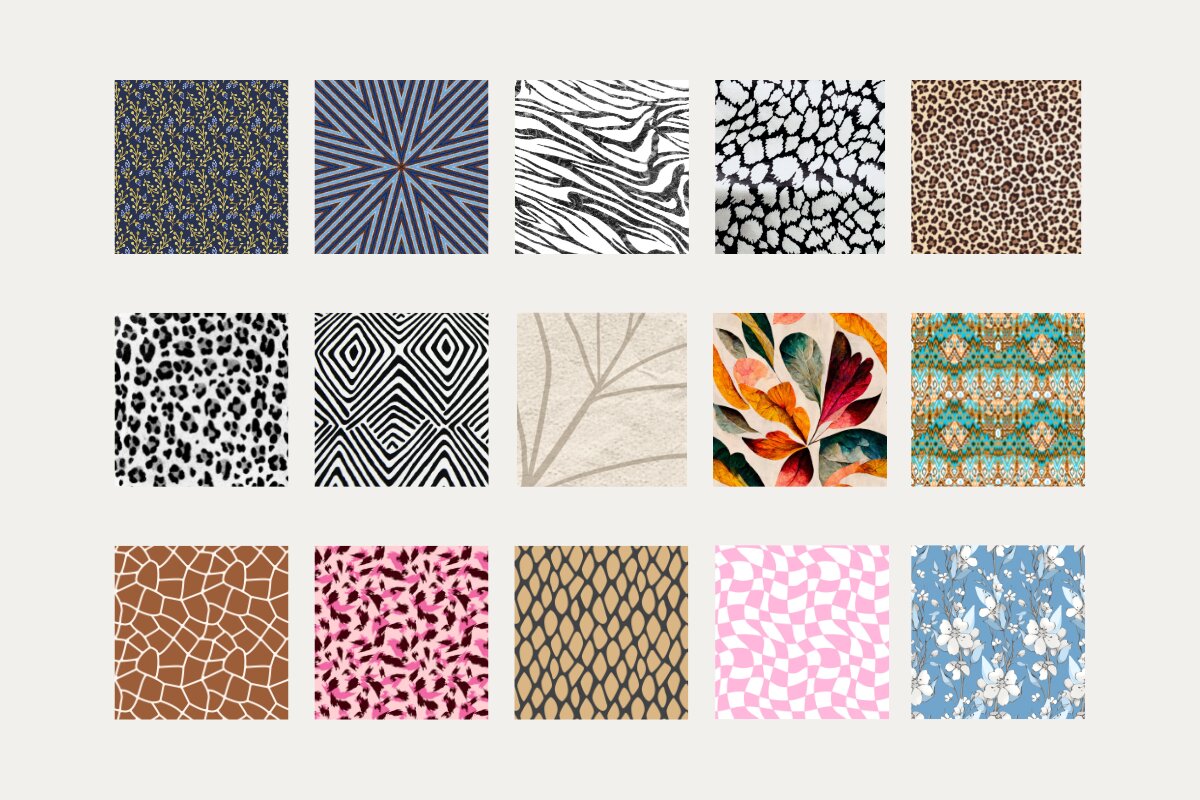
Transfer sheets are edible designs printed on thin plastic sheets or baking paper that can be transferred onto your product – in this case, chocolate. They come in a variety of designs ranging from floral patterns to stripes and swirls, and geometrical shapes to holiday themes. There are literally thousands of designs and decorations from which to choose. They can be used to decorate molded chocolate, bonbons, and pralines, but can also be used for cookies and baked goods such as cakes and pastries.
Transfer sheets are made by printing or silk-screening colored cocoa butter onto the transfer medium, which is typically a thin plastic sheet. The colors are printed layer after layer until the design is complete. When the cocoa butter design comes into contact with melted chocolate, the design melts into the surface of the chocolate, thus transferring the decoration onto the chocolate. Once the chocolate is set, the plastic can be peeled away.
How to use chocolate transfer sheets?
Transfer sheets work with all kinds of chocolate creations. If you are dipping ganache or other treats into chocolate, you can place them onto a transfer sheet to cool and the design will be imprinted onto the bottom of your treats. You can also cut the transfer sheet into small squares and lay them on top of your dipped confections. The beautiful design will be transferred to the top of your creations.
You can also use transfer sheets in chocolate molds, such as magnetic 3D molds, silicone molds, or polycarbonate molds.
For a flat mold, simply cut the sheet to fit the mold and place it in the bottom with the design side up (if you put it upside down, nothing will transfer to your chocolate). Pour melted chocolate over the top of the design to fill the mold. Let the chocolate set on your counter or place it in the refrigerator to set up faster. Remove the chocolate from the mold and peel off the plastic sheet. The design will remain on your chocolate.
You can also simply lay a transfer sheet out on the counter (again, making sure that the side with the printing is up) and pour melted chocolate over the sheet. Let the chocolate harden and then peel off the plastic. Using a cutter, such as a knife or pizza cutter, to cut the chocolate into squares, triangles, etc.
What are the benefits of using chocolate transfer sheets?
The benefit of using transfer sheets is that you can quickly and easily add unique personalized chocolate decorations to your creations.
Chocolate transfer sheets are also an easy way to add professional-looking decorations to cakes and pastries. Transfer sheets come in different patterns and colors, collections, and themes such as Easter, Halloween, Spring, and Christmas so you have multiple options for any occasion. There are even some sites that allow you to upload your own designs such as logos and images and they will make fully custom transfer sheets. There are minimum order quantities, so this might not be economical if you’re only doing a small chocolate-making project, but it’s certainly a way to elevate your sweet creations.
Where can I buy transfer sheets?
Here are several sites and resources where you can find a variety of transfer sheets for your chocolate project:
How do you make your own chocolate transfer sheets?
Although you can buy transfers in a variety of patterns, you can also make your own cocoa butter transfers. This technique will allow you to add color and patterns to your chocolate, as well as shapes that make the finished delicacies look like artwork. Once you’ve coated your thin plastic film (typically acetate) with cocoa butter, it takes less than an hour to finalize your transfer sheet.
Ingredients:
- 1/2 cup cocoa butter
- Food coloring powder
- Microwave
- Spatula
- Cake Stencil
- Tape
- Acetate sheet
- Scissors
- Chocolate coating wafers
Method
- Place an acetate sheet on a countertop or table. Secure it with tape to keep it from shifting while you work.
- Place a cake-decorating stencil over the acetate sheet.
- Warm 1/2 cup cocoa butter in the microwave for 15 to 30 seconds until melted.
- Add food coloring powder to the cocoa butter as instructed (you can also buy colored cocoa butter to simplify the process).
- Pour some cocoa butter onto the acetate and spread it over one edge of the stencil. Then smooth it over the stencil with a spatula. Make sure that it fills all the cavities in the stencil. Repeat with other colors as desired.
- Allow the cocoa butter to set for 15 minutes. Remove the cake stencil from the acetate sheet, and make sure it is fully cooled before continuing.
- Cut the acetate sheets into strips or desired shapes.
- To use, pour melted chocolate over your transfer sheet. Once solid, peel the acetate from your chocolate.
TIPS
- To achieve a variety of colors, mix different powdered food coloring with cocoa butter. Do not use liquid food coloring.
- You can hand-paint designs onto the acetate sheets using a paintbrush dipped into your cocoa butter.

Now that you know all about chocolate sheets, we hope that you will be inspired to put this awesome technique to practice. Soon you will be creating some gorgeous chocolate that will surprise your family and friends… and we’re sure they’ll love it!
If you have any questions or comments, we would love to hear from you! We are @cocoterra_co on Instagram and Pinterest and @cocoterraco on Twitter and Facebook. Don’t forget to tag us when you show off your creations.

