Chocolate is one of the most commonly used ingredients, and without a doubt, one of the most loved; but behind each preparation, there is a mysterious process that gives it that special touch necessary to obtain the perfect texture and make your palate fall in love. This process is known as “tempering” or “chocolate tempering”.
What is tempering and why is it so important?
OK… let’s get a little technical! Tempering chocolate is a temperature-controlled process that helps create invisible crystals in the molten chocolate that when fully solidified, give the chocolate its texture, shine and snap. It typically involves a precision process of melting, cooling and reheating the chocolate, while continuously agitating (i.e. stirring and scraping) the liquid chocolate.
Most cookbook descriptions make the process sound simple, but it’s a little more complicated than you might think. Behind the scenes, there is a very specific molecular manipulation that is critical to achieving the perfect temper. It is extremely important to do it correctly and accurately so that the chocolate has the ideal texture and appearance.
Chocolate is made up of fat (cocoa butter), but unlike other common fats like olive oil and vegetable oil, this fat is solid at room temperature. And like the transformation of water to ice, cocoa butter goes through a crystallization process when it goes from liquid to solid. To be clear, tempering is a physical change of the composition of the chocolate and is not a chemical process or transformation (and that’s a good thing since it means that you can also start over if it doesn’t go according to plan). In simple terms, tempering is the process of manipulating the chocolate so that it has a specific crystal structure instead of having an amorphous, disorganized structure. This lack of organization and structure is what gives untempered chocolate a dull appearance and a poor texture. Typically, if you do not temper your chocolate properly you will end up with “moldy” looking chocolate that has a grainy texture. But, don’t worry, if your temper fails, you can just remelt the chocolate and try again.
Benefits of tempering chocolate
- It makes the surface of the chocolate shiny and smooth
- It makes it easier to unmold (since properly tempered chocolate shrinks a little)
- It snaps cleanly when broken
As such, tempering is essential for anyone who wants to make beautiful desserts and chocolates with a clean and glossy surface. Obviously, if you are baking with your chocolate or making drinking chocolate or chocolate fondue, there is no need to temper. When you temper, it is important to follow every step in the process to get the best results. Otherwise, your chocolate may be brittle, crumbly, dull, bumpy, streaked, flecked with white marks, and harder to turn out of your molds.
Successful tempering is the key to successful chocolate making.
What are cocoa butter crystals?
Cocoa butter is one of the primary ingredients in chocolate. It is composed of fat molecules that all have much the same shape and structure. Cocoa butter is a polymorph, which means that the cocoa butter molecules can connect to each other in six different ways or structures. Each of these polymorphs or crystal structures differs in how the fat molecules connect to one another, which in turn influences their properties such as appearance, texture and melting temperature. When chocolate solidifies (aka crystalizes), how these fat molecules are arranged determines the molecular structure of the chocolate. In some cases, the fat molecules can be neatly organized and in other cases, they may be a jumble of different structures. The more efficiently they are stacked together, the higher the density of the structure formed, and the more stable it is.
The fact that each of the crystal structures melts at a different temperature makes the tempering processes possible.
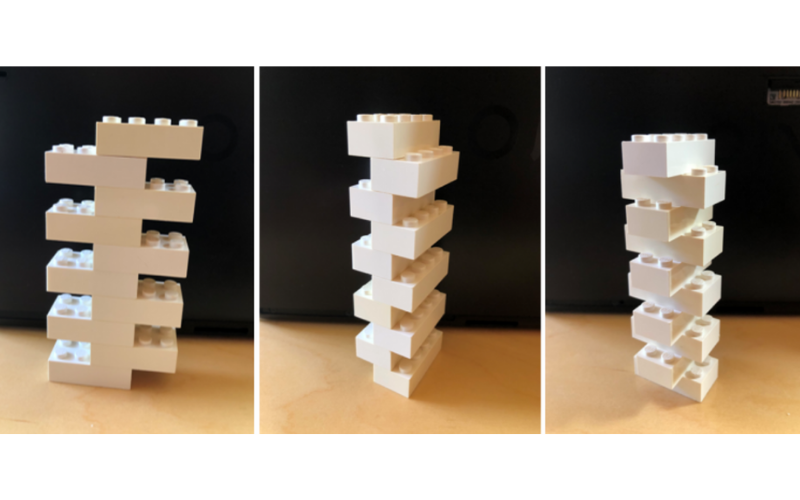
In some ways, cocoa butter molecules are like legos. A handful of the same bricks can connect in multiple, different repeating ways. Each of these repeating structures will also have different stability with some structures being more fragile than others. Cocoa butter is much the same and the stability of the structures is what determines the melting temperature of the particular crystal structure.
The desired crystal structure for properly tempered chocolate, in terms of appearance and taste, is called Form V. This form has a shiny appearance, produces an audible snap when broken, doesn’t melt in your hands, and has a smooth texture. Tempering chocolate is the process of creating or introducing Form V crystals in the liquid chocolate so that when the chocolate solidifies, it has a Form V structure, also known as “tempered chocolate”. The fact that Form V is the most stable form also means that it has the highest melting temperature. This is critical to the tempering process since, by controlling the temperature, it is possible to melt away any undesirable crystal forms, while leaving the Form V crystal intact. This is achieved by cooling the chocolate to a specific temperature, which leads to the creation of the desired Form V crystals. At the same time, some undesired forms (Form IV and Form III) might also have formed, but by gently heating above the melting point of the undesired forms (and staying below the melting point of Form V), these undesired crystal forms can be melted away. This results in liquid chocolate that contains only Form V crystals and as the rest of the chocolate solidifies or crystallizes, it will also take the Form V structure.
6 types of different crystal forms

Note: Those of you who are looking at the chart details will notice that there is a Form VI which has a higher melting point than the desired Form V. This is true, but Form VI doesn’t form in liquid chocolate so it doesn’t come into play during the tempering process (but it is the reason why your chocolate can get hard over time since Form VI develops in solid chocolate).
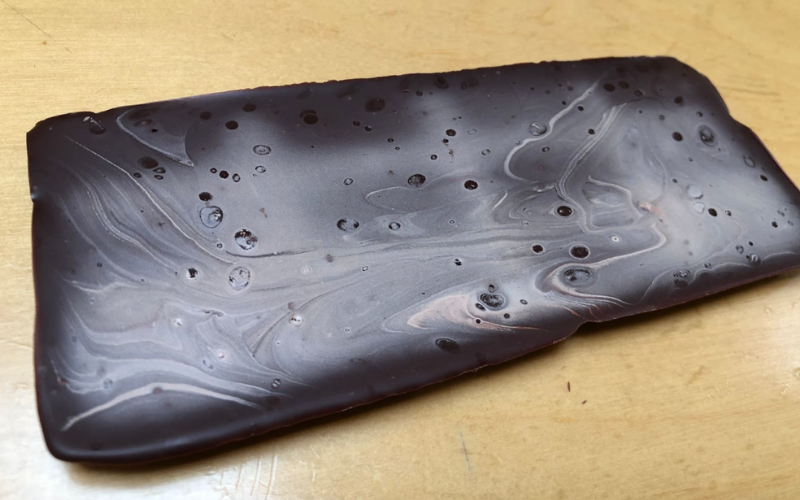
Most important tempering tool
Thermometer: You must have an accurate thermometer that can reach 130°F (55°C). This is essential as you will need to check the chocolate’s temperature throughout the tempering process to make sure you are hitting your target temperatures. Digital thermometers work well, as do non-contact IR thermometers (make sure it is set for measuring food temperatures). If you are using a contact thermometer, make sure to wipe it off each time since the chocolate can harden on the sensor and affect your readings.
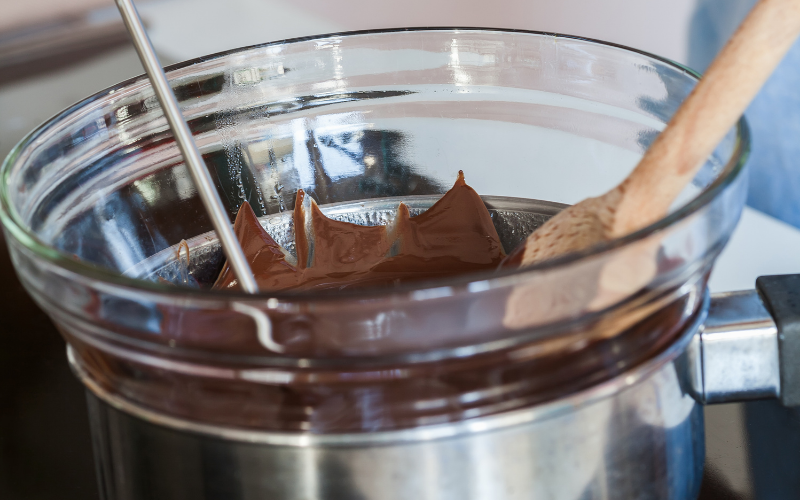
What is the easiest way to temper chocolate?
1. Microwave
For those with a microwave, this technique is the simplest to do if you are starting with tempered chocolate (most chocolate you buy in the store is already tempered).
- Chop the chocolate into small pieces (using a serrated knife will minimize flying chocolate bits).
- Place ⅔ of the chocolate in a dry, microwave-safe bowl.
- Put the bowl in the microwave and microwave for 15-second intervals.
- Stir the chocolate with a spatula in between each 15-second blast until all of the chocolate is just melted (so do not overheat the chocolate as it can burn).
- Pour in the remaining chocolate and stir until all the pieces have melted.
- Your chocolate should now be tempered.
2. Double-Boiler
For those who prefer the classic technique, it is a bit more technical, but can achieve the same results. If you are starting with chocolate that isn’t already tempered, this technique is required. It involves melting the chocolate in a double-boiler (bain-marie) while stirring and checking that you are hitting the proper temperatures required to temper the chocolate.
Warning: Water and chocolate don’t mix so be careful not to drip any water into the chocolate – just a few drops is enough to spoil the lot.
To temper your chocolate with this technique, you will need the following items:
- Thermometer
- Medium bowl for the double-boiler (bain-marie)
- Container for cold water with ice cubes
- Spatula

- Start by placing the chocolate in your bowl and heat it on your double-boiler until you hit Temperature #1. Make sure to regularly check the temperature so that it does not go above the target temperature for the type of chocolate you are using.
- Once the thermometer shows the target temperature, take the chocolate off the double-boiler.
- Place the chocolate bowl in the bowl of cold water, so the bottom is slightly submerged. Stir regularly until the chocolate almost cools to Temperature #2.
- Remove the container from the bowl of cold water, stirring the chocolate constantly, until it reaches Temperature #2. Put it back into the ice bath for short spurts if it needs additional cooling.
- Briefly place the chocolate back over the double-boiler, stirring the chocolate until it reaches Temperature #3. Take your time during this step as this is the most critical step. If you overshoot Temperature #3, you may need to start over.
To check if the chocolate has tempered correctly, you can spread a thin layer of the liquid chocolate on a piece of foil and let it rest for five minutes. If the chocolate hardens and you can easily remove it from the foil, then it should be properly tempered. You should also check the surface and make sure it has a shiny appearance and NO swirls or stains. If your chocolate fails any of these tests, it means that it is not well-tempered, and it will be necessary to repeat the process.
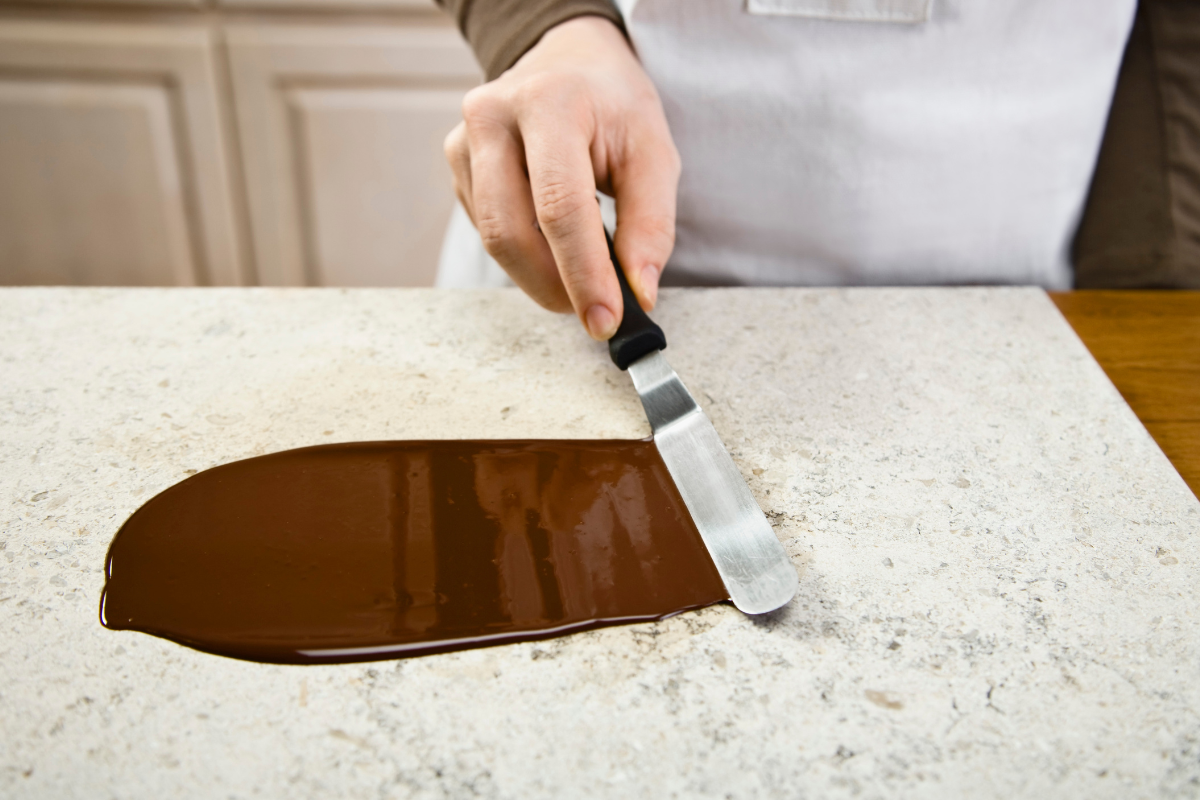
In a future post, we’ll talk about “table tempering” which involves the highest level of technique to successfully temper chocolate.
Now that you know all the details of how to temper chocolate like a professional, we hope that you will be inspired to put these techniques to practice in your kitchen. Practice makes perfect and there’s no problem melting and re-tempering your chocolate until you feel comfortable with the technique. Soon it will be time to create some delicious chocolate treats that will surprise your family and friends… and we are certain that they will be perfectly tempered
Make sure to mention CocoTerra on social media when you post what you’ve made. We are @cocoterra_co on Instagram and Pinterest and @cocoterraco on Twitter and Facebook.

